
It's Make it Monday time!

Yesterday, My mom , My sister, my 2 nephews, & I went up to Silver Dollar city for the
Old time Christmas Festivals.

Since my mom's Bday is in December , It's a tradition. they have over 5 million lights &
a 5 story special effect tree. It was truly a winter wonderland. but I will post more about that on another day.The park closed at 9 .But by the time we left & got on the road back home a sever storm decided to make it's appearance & pour rain . So by the time I got home it was 3:20 a.m
& I am one tired woman!
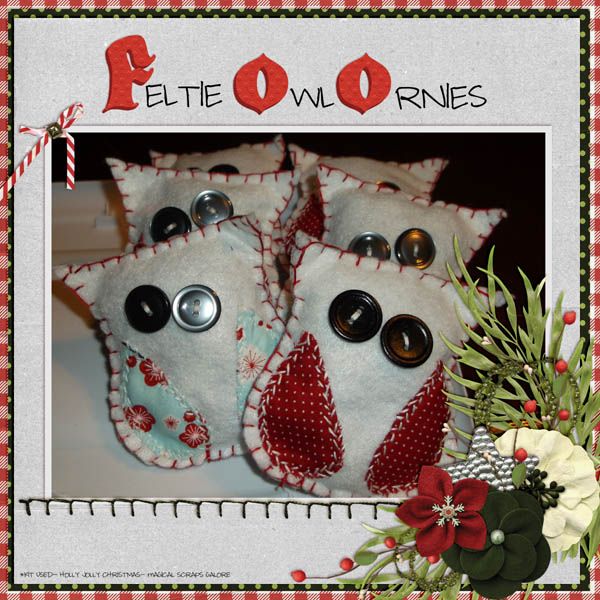
Okay for todays Make it Monday I'm gonna show you how to make my adorably cute
Felt owl ornies.
I found lot's of inspiration on Pintrest...


These are just a few (you can click on the image to go to their blogs!)
So to make mine your gonna need a few things
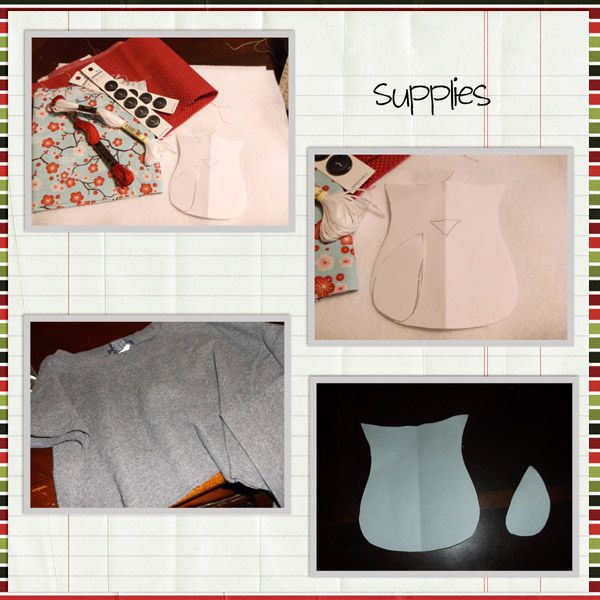
Supplies:
*felt
*buttons
*embroidery thread
*fabric
*something for stuffing (I used an old shirt)
* a pattern
Okay to start out You need a pattern. I just decided how big I wanted my owl
& drew a simple owl shape. Then I made a feather pattern.
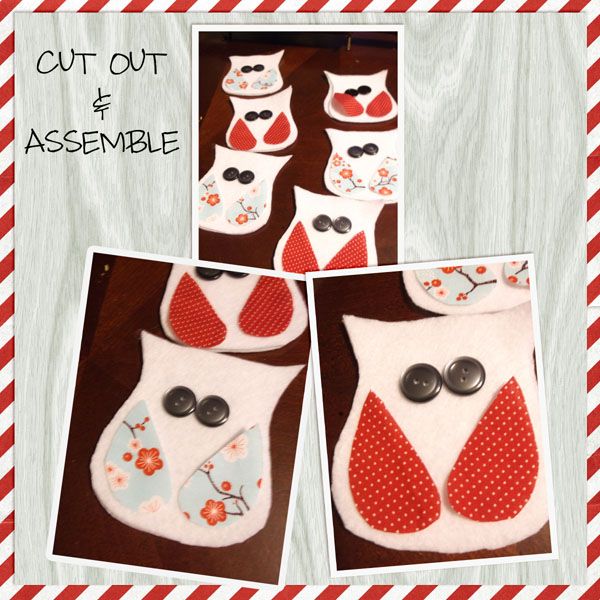
I wanted my owl white & I wanted 6 so I traced the pattern out 12 times on the white felt, for the front & the back. then i cut my wings out. you will need 2 for each owl and you want one facing one way , one facing the opposite. the best way to do that is to double your fabric wrong side to wrong side & cut out one feather.
So you now should have 12 felt owl peices & 12 wings ( or however many your making). Grab 2 button for each owl ( so I needed 12 of those 2) & it'time to start assembling them.
Place the feathers where you want & pin them in place.Your gonna want to sew them on first.
Then sew your eyes on. I made mine a little askewed cuz I thought it made it look cuter.
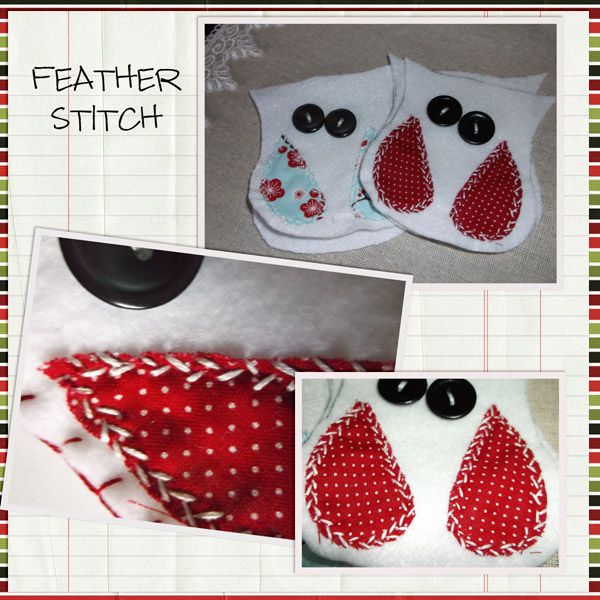
To sew my feathers on, I used the feather stitch. If you don't know how to do this their is a great tutorial on Sarah's hand embrodiered tutorials blog
Now Sew your owl together. Place the back & front pieces together.
I chose to blanket stitch these together with red becuase it made a nice contrast to the white felt.
you can see how to make the blanket stitch HERE on sarah's blog.
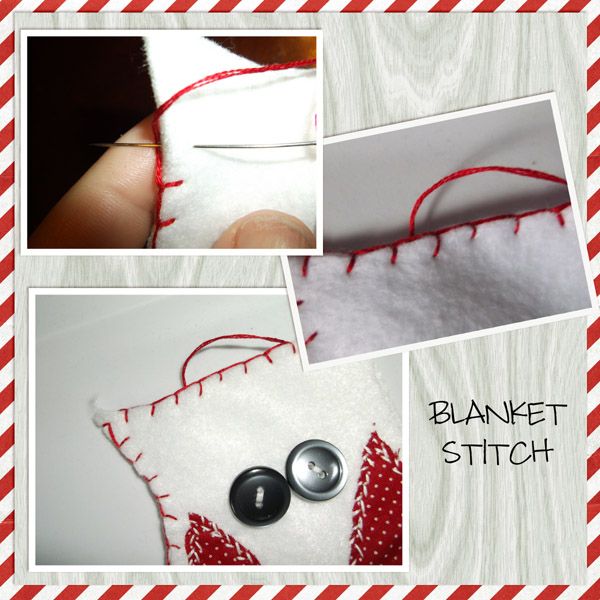
I blanket stitched this all around until there was about a 2 inch gap in the bottom. then I stuffed my owl. you can use stuffing but I had a tshirt from an old project so I just cut strips from it and used it to stuff my owls. I didn't stuff them real full cuz I wanted them just a little pillowy.
Finish blanket stitching the owl closed.
I don't have these pictured but I took bakers twine & made a hanger so I can hang these on my tree. i just threaded the bakers twine and pushed the needle through the top middle of my owl and made a loop and knotted it.
I must say I am loving how these turned out. It is awesome when an idea comes out the way you
wanted it & you LOVE it!
Now I just need to put these on my tree!
So as always if ya wanna share or ya have a question just leave me a comment below... & enjoy!

Happy craftin Ya'all!

No comments:
Post a Comment