Wednesday, December 31, 2014
Monday, December 29, 2014
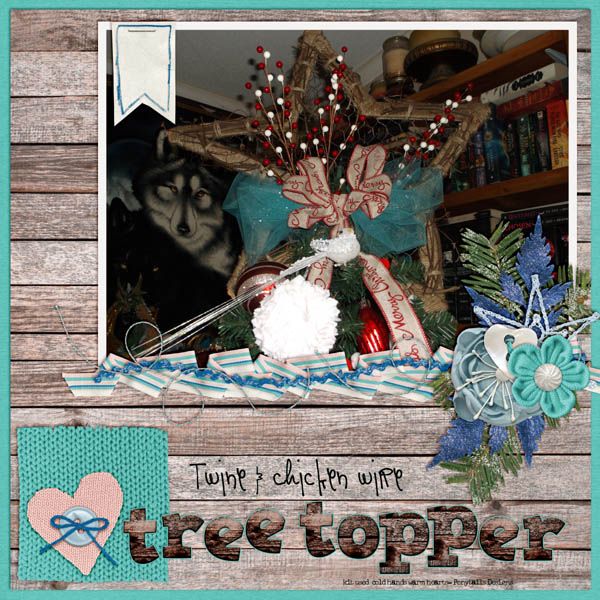
Make it monday! - Twine & chicken wire treetopper
It's make it monday time again!
I could not figure out what to do for my tree topper this year.I saw a rustic tree star at wlamart but when I went to get it , it was sold out.
I found this little beauty on Pintrest.. And decided to try my luck at making my own.
(click on link to go to site)
but then I thought that was pretty plain... and I saw this one...
(click to go to pinned blog- I couldn't find it on the page )
So I decided to combine the two & make my own!
So today Im gonna show you how to make ...
A twine & chicken wire Treetopper
Here's what ya need:
*twine (I had leftover from prev project that I got at dollar tree)
*10 paint stirrers ( I work at walmart & asked & got them)
*chicken wire( I live in the country & had some left over)
*grapevine or sticks
(so far project cost me $0 YEAH!!!)
tools- hot glue gun, scissors, staple gun,wire cutters & some kind of cardboard you gut into strips)
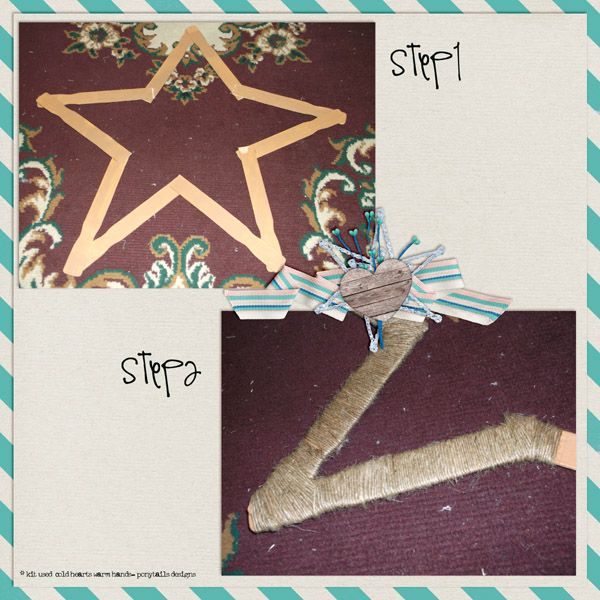
Step 1- Decide how big you want your star to be and then cut the stirrers. I cut off the straight part & left the indented parts. Now place them on the floor and make your star design.
Take your hot glue and glue the conjoining points.
Step2- When your done with that take your twine & just start wrapping...
(ignore the stuff on the rug lol)
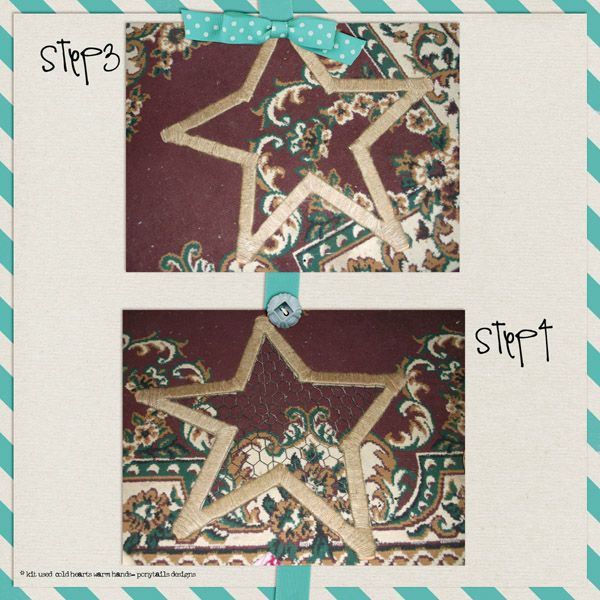
Step3- until all of it is covered.
Note:I put hot glue on the points and then rewrapped up the side)
Step4- Measure your chicken wire & cut out a square big enough to cover it.
Taking some wire cutters cut around the shape of the star so it doesn't
stick out from your star. Mine did on a few but it gives it more of a rustic feel.
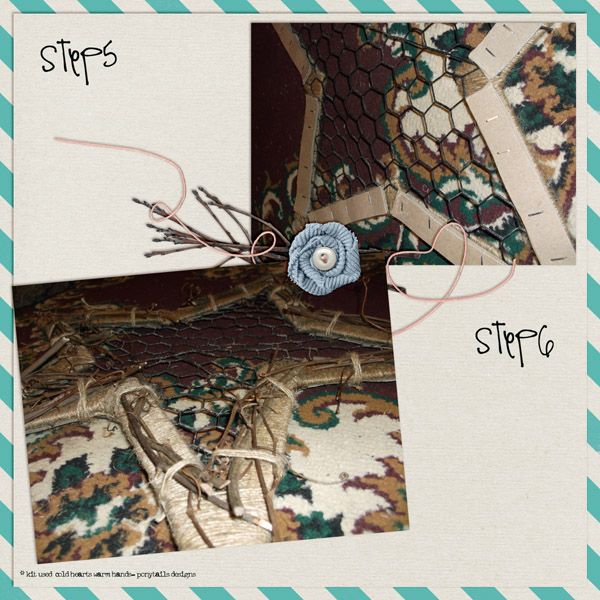
Step5- cut out some cardboard strips (you'll need 10) put them on the back over the
wire & using a staple gun staple to hold the chicken wire to your frame.
Step6- I used some grapevine for this part. I just cut off peices long enough to cover each point.
I made little piles. then using twine I just wrapped and tied a knot to hold them secure one on one side one on the outher...
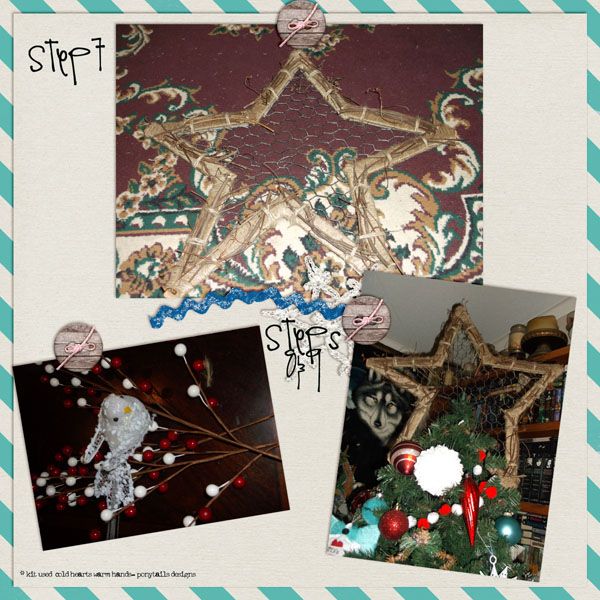
Step7- do this to all 10 points
Step8- Now it is time to make it your won & decorate it... unless you want just the star.
I had 3 sprigs of white & red berrys & a white bird. I also wanted to incorporate my colors so I made a bow of teal tulle and a smaller bow with two loooong tails of some merry christmas ribbon.
Step 9- assemble it on your tree. I used the top branches and kinda wove them in the chicken wire to help hold in place. Then I took some pipecleaner and wrapped through the star and the tree branch to help secure it better.
I then put my bow on the branch right in front of it. added my bird in front of that... then stuck the 3 sprigs into the back of the bow.
I thought the star was a little big at first until I put the bow & stuff on...
& there ya go. Im always on the lookout for new tree ideas... So if ya got any ideas let me know.
& like always if ya have any questions please feel free to ask =)
Happy Craftin Ya'all
until next time...

Wednesday, December 24, 2014
Oh Tannebaum!
O Christmas Tree, O Christmas tree,
How lovely are your branches!
In beauty green will always grow
Through summer sun and winter snow.
O Christmas tree, O Christmas tree,
How lovely are your branches!
O Christmas Tree, O Christmas tree,
You are the tree most loved!
How often you give us delight
In brightly shining Christmas light!
O Christmas Tree, O Christmas tree,
You are the tree most loved!
O Christmas Tree, O Christmas tree,
Your beauty green will teach me
That hope and love will ever be
The way to joy and peace for me.
O Christmas Tree, O Christmas tree,
Your beauty green will teach me.
How lovely are your branches!
In beauty green will always grow
Through summer sun and winter snow.
O Christmas tree, O Christmas tree,
How lovely are your branches!
O Christmas Tree, O Christmas tree,
You are the tree most loved!
How often you give us delight
In brightly shining Christmas light!
O Christmas Tree, O Christmas tree,
You are the tree most loved!
O Christmas Tree, O Christmas tree,
Your beauty green will teach me
That hope and love will ever be
The way to joy and peace for me.
O Christmas Tree, O Christmas tree,
Your beauty green will teach me.
Happy christmas Eve!
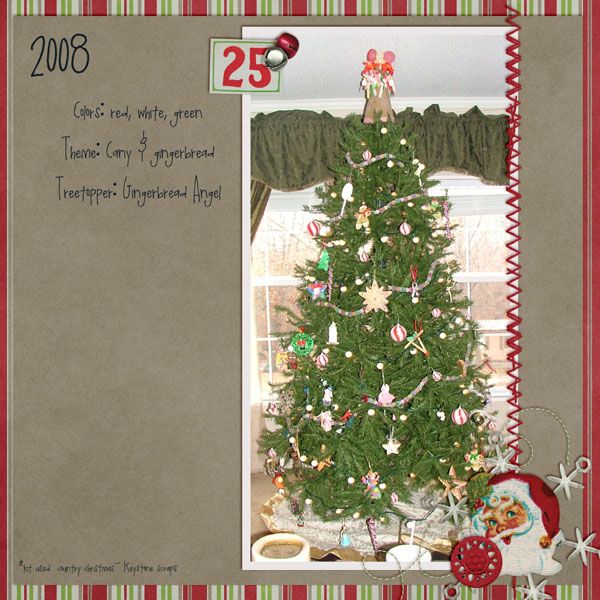
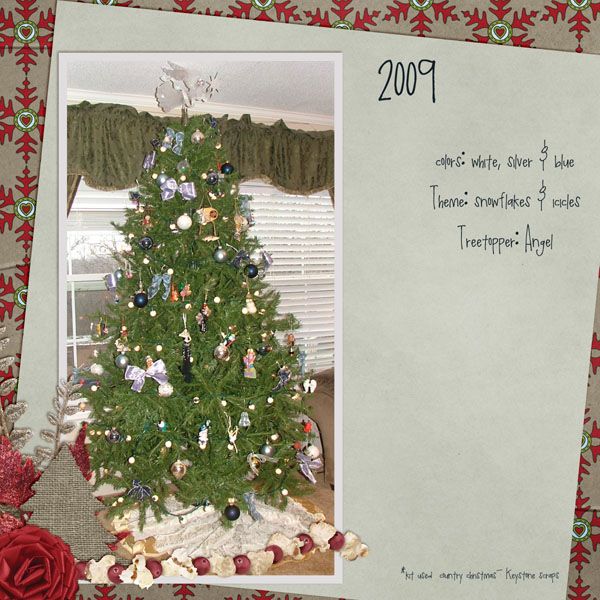
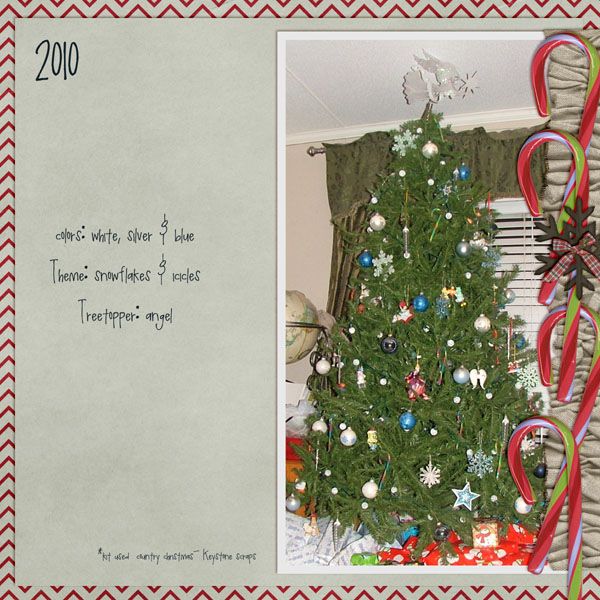
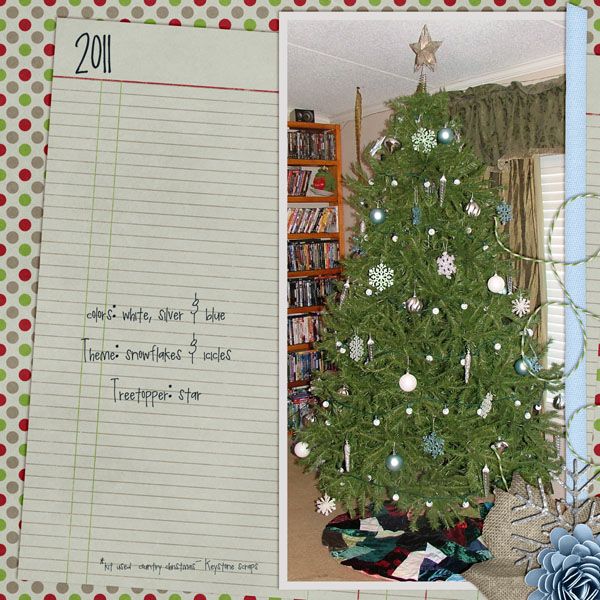
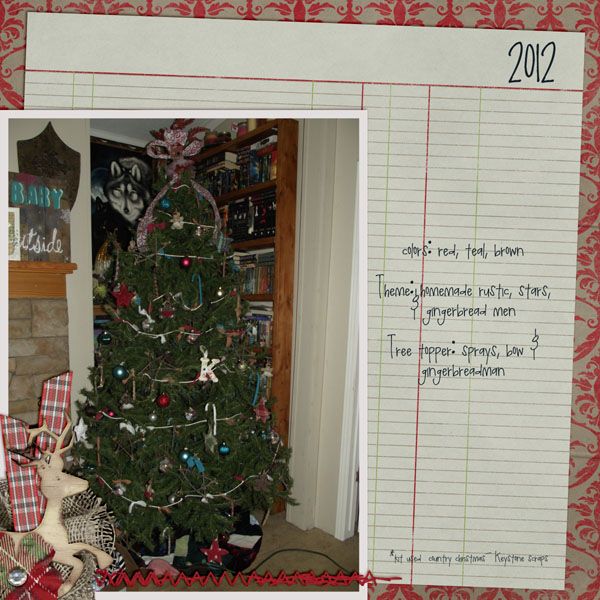
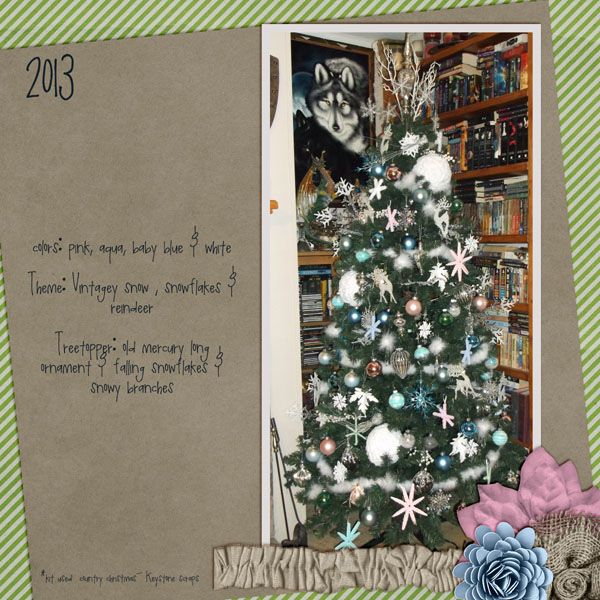
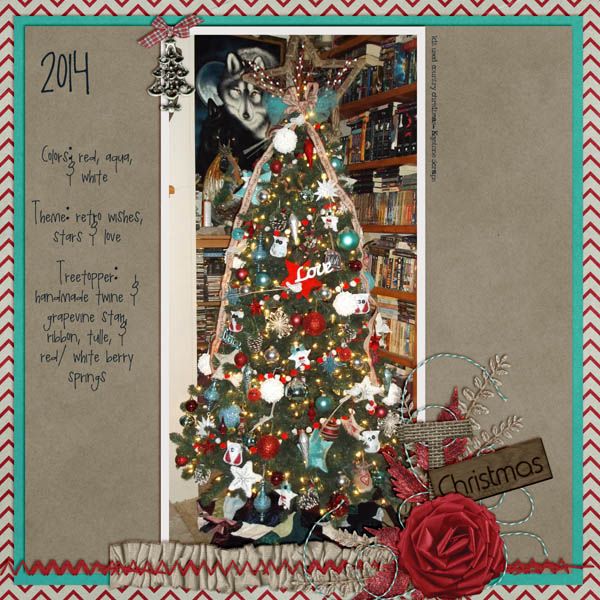
Today I'm gonna share some of my christmas tree's throughout the years.
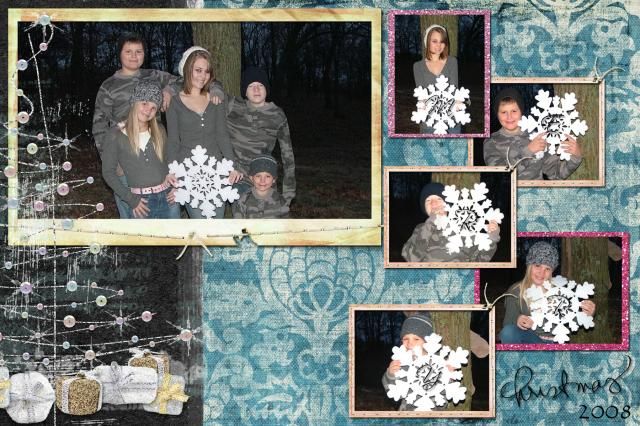
2008
2009
2010
2011
2012
2013
2014
sooo all those red , aqua & white ornies Ive been making... Here's what I did with them. Im pretty impressed with this tree. Especially after looking at past years... So whats for next year???
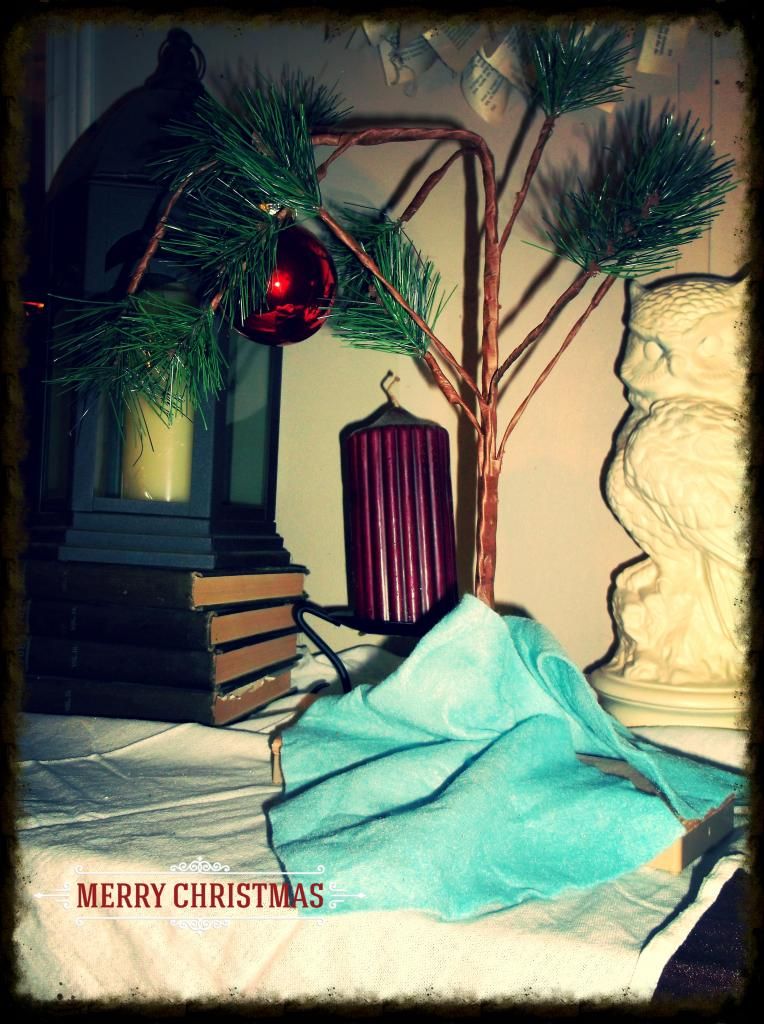
but this is not the only tree I have up in my house. Back in 2012 when my youngest decided to go to England with her dad.I really did not want anything to do with Christmas. I really just wanted to crawl in bed until Jan2... And be done with it. My mom said I needed a Christmas tree...so I bought one
Yep thats a charlie brown christmas tree. My daughter asked me to put up a tree so I did actually put up one that year. She has always loved christmas and it was always "our time" going to hobby lobby,
decorating, watching christmas movies together.
So I still put this little guy up every year, becuase as hard as I try I still get a little depressed
during christmas... & this reminds me to make the most of it.
Merry Christmas Ya'All!

Tuesday, December 23, 2014
Christmas traditions
When was the first Christmas card sent? Why do we kiss under the
mistletoe? Learn the origins of Christmas and fun facts about some of
our favorite christmas traditions and symbols.
Christmas trees
In 16th-century Germany fir trees were decorated, both indoors and out, with apples, roses, gilded candies, and colored paper.
Mistletoe
Mistletoe was used by Druid priests 200 years before
the birth of Christ in their winter celebrations. They revered the
plant since it had no roots yet remained green during the cold months of
winter.
The ancient Celtics believed mistletoe to have magical healing powers
and used it as an antidote for poison, infertility, and to ward of evil
spirits. The plant was also seen as a symbol of peace, and it is said
that among Romans, enemies who met under mistletoe would lay down their
weapons and embrace.
Scandanavians associated the plant with Frigga, their goddess of
love, and it may be from this that we derive the custom of kissing under
the mistletoe. Those who kissed under the mistletoe had the promise of
happiness and good luck in the following year.
Christmas cards
A form of Christmas card began in England first when
young boys practiced their writing skills by creating Christmas
greetings for their parents, but it is Sir Henry Cole who is credited
with creating the first real Christmas card.
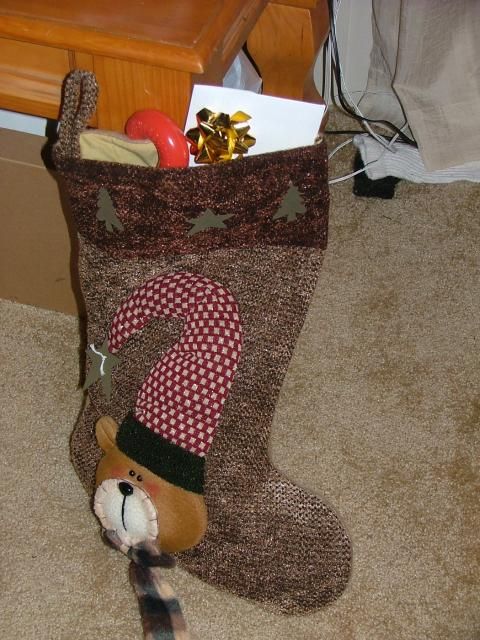
This year is the 2nd christmas since all my kidlets have flown the nest. somedays I feel like I really just want to skip christmas all together... but then I just can't. I love christmas. I love the lights and the tree, the cooking and family time.I love that my mom still gives me a stocking.. and that it is
my favorite thing in the world to explore and find all the tiny goodies awaiting inside. but being a mother for more than half my life then going to be just a phone call on xmas is a little sad and hard.
So this year I am trying to find my Christmas spirit. I have been reminiscing about old Christmases.
& Im gonna share some of our traditions...
Nativity
My mother made this nativity when I was a baby for someone in her family. When I had my first baby, They said they had found it and gave it to me. This goes up every year. it is very special to me.
Christmas cards
I tried to have these made & printed by thanksgiving each year. I loved taking pics of my kidlets and
making xmas cards & sharing them... okay I am a little biased becuase I have some amazing kids!
Laying under the christmas tree
both my girls & my sister have a tradition of laying under the christmas tree with the lights on. Im not really sure why but they did it every year... But hey, Xmas lights are pretty magical so I can totally agree with the sentiment.
Christmas ornies
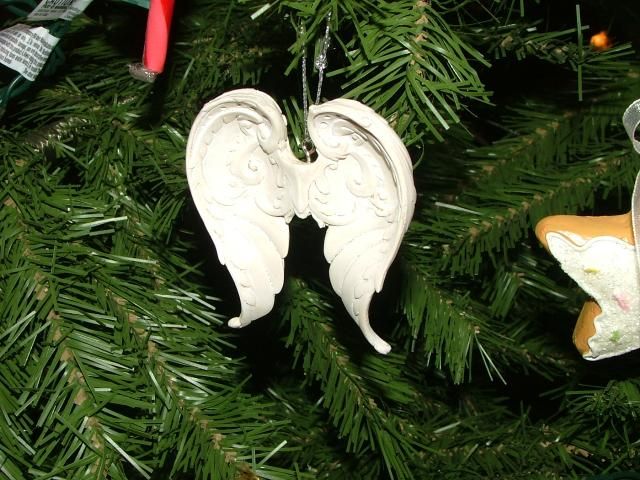
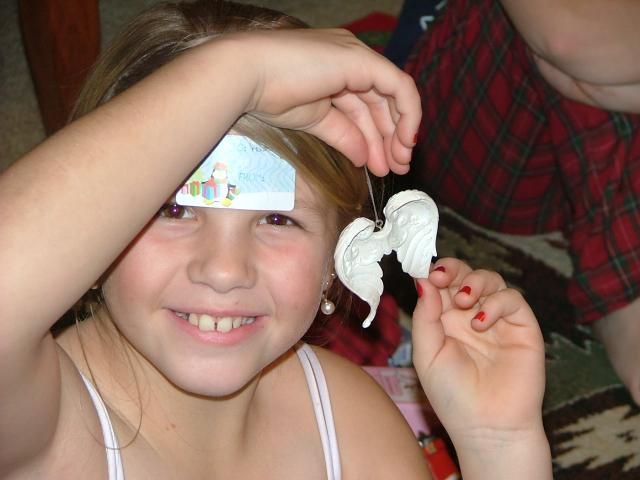
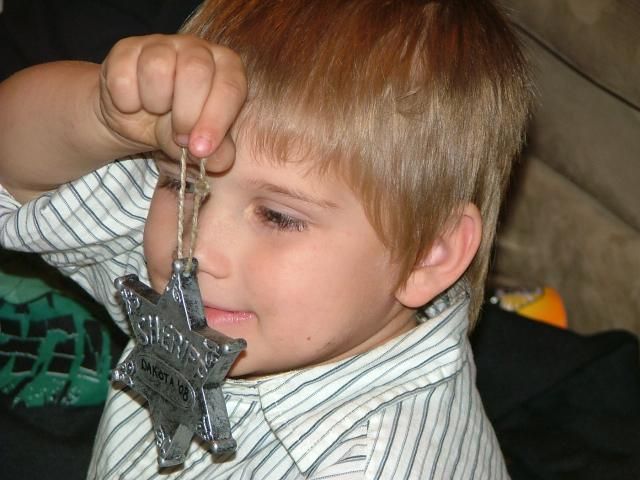
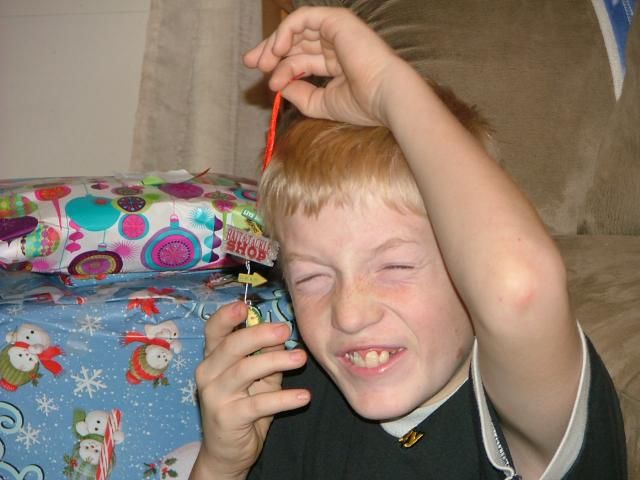
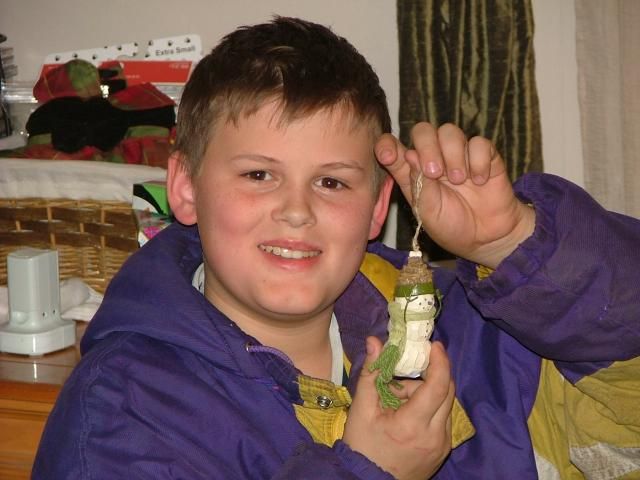
I don't know why I started this tradition but I have gotten my kids a special ornament every year.
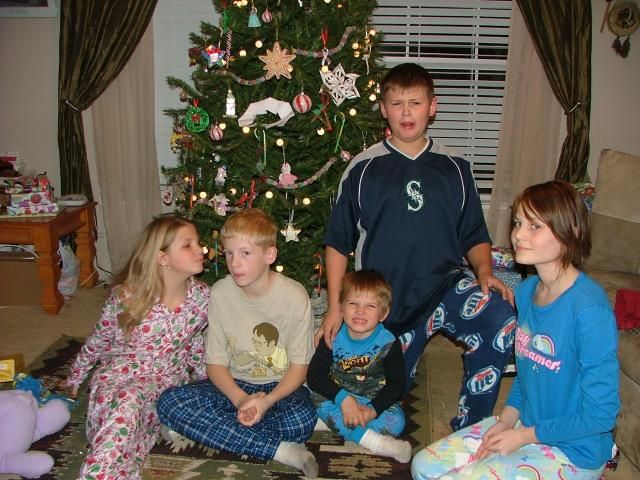
Christmas Jammies
There is one more gift that I would get my kids every year...Jammies. they weren't christmas specific just jammies. I don't remember how this started but these two gifts were always under the tree with the other wants & must haves lol
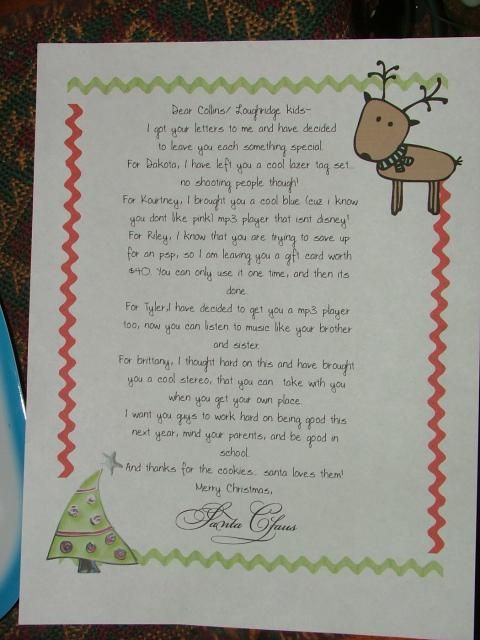
Letters from santa
Each year "Santa" would write my kids a letter sometimes they each got one individually & sometimes it was on for all of them.
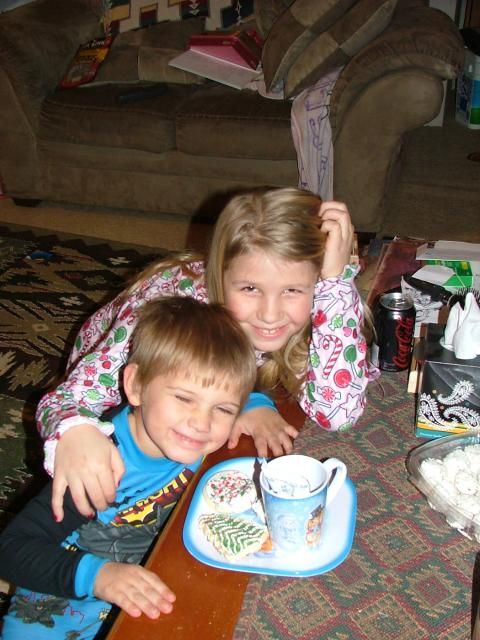
Cookies & cocoa for Santa
You know santa needs fuel for his long night!
Reindeer food
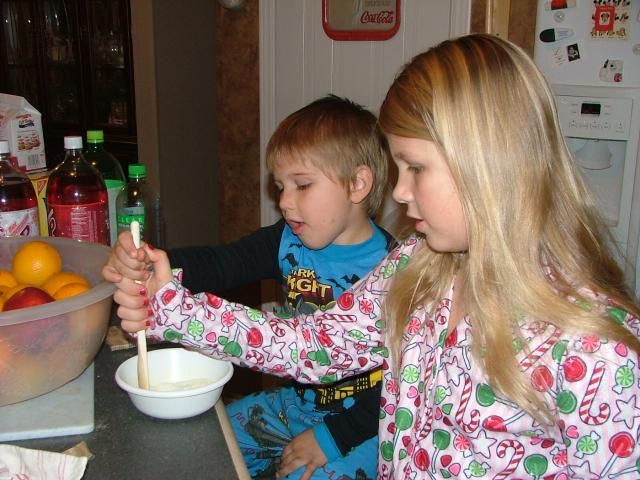
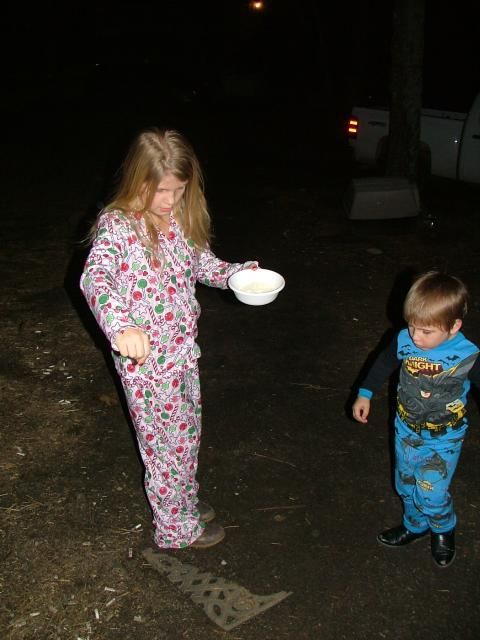
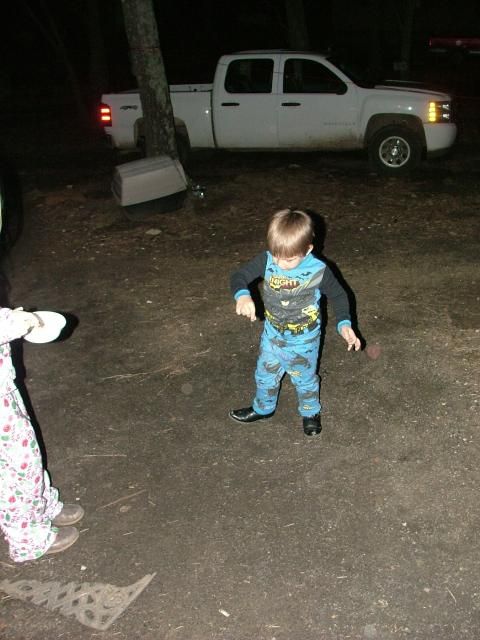
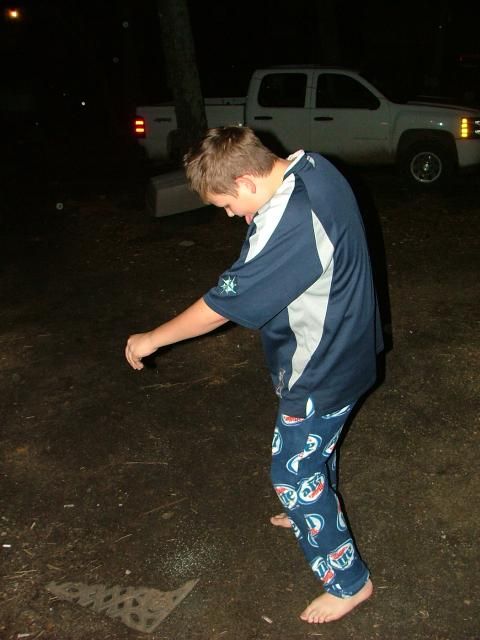
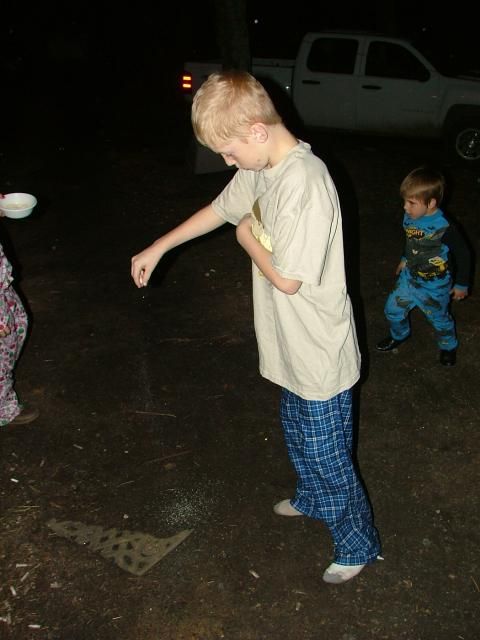
Since those reindeer have to pull that sleigh all night they need fuel too... so we make them reindeer food. The kids mix oats with glitter ( so the reindeer can find the food) Then they sprinkle it on the ground.
Christmas Eve & Christmas Day
In my house when I was little we always opened gifts on Christmas Eve & then Santa gifts on Christmas Day.So that is how we did in in my house when I "grew up". Then on Christmas day we go to my moms house where my sister & her family go, and my brother... & hopefully next Christmas we will have my other brother kris there too! This Family time is my favorite part of the holidays. Eating my mommas food.Exchanging gifts. Visiting.. and always trying to get a picture for my mom of my sister and me and my brother... He's not very cooperative.
Well thank you for going down memory lane with me & sharing in my families tradition.
What are some of your Christmas traditions?
Merry Christmas Ya'All!

Monday, December 22, 2014
Make it monday!... Modge Podge Lanterns
Last night we went to see the lights of the ozarks.While they aren't as impressive as silver dollar cities. they are still pretty MAGICAL!
I LOVE LIGHTS! Tommorrow I will post some pics from both places.
Yesterday I also finally finsihed my star for my Christmas tree, poor thing has been starless.
But not anymore. I must say Im pretty impressed with it =)
Okay for todays MAKE IT MONDAY! Im gonna show you how to make...
Modge Podge Laterns
I found the inspiration for these right here...
You can click on the picture to be taken to their blog. They already had colored jars. & it doesnt really give you any directions
Fist gather up your supplies. This doesnt take much.
*Mason jar
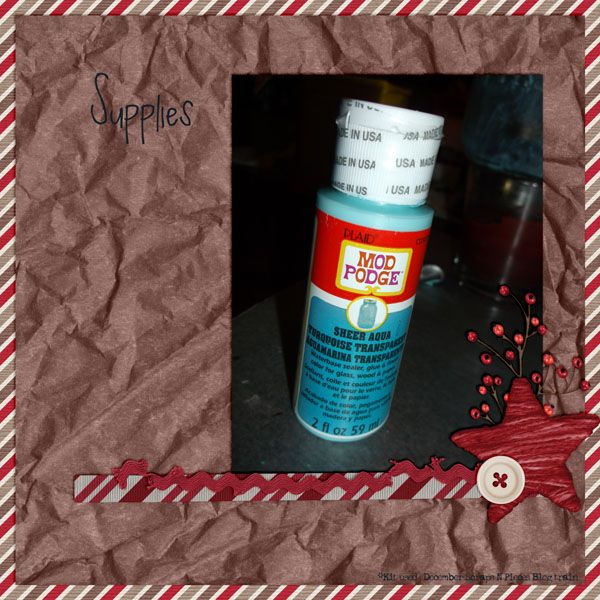
*modge podge sheer color
* fake snow or epsom salt
*white candle
*gingham ribbon or fabric
~ Note I tried to make my candle using the modge podge & food coloring method. I had stored already made ones from my christmas ornies last year.... but becuase of the age, it turned way darker than I wanted & it was globby & didn't cover in some areas... so after research I soaked my jars & pulled the modge podge off & started over. I found this modge podge auqua sheer color paint in the craft aisle at my walmart with the apple barrell acrylic paints. It worked beautifully... AND you don't have to dry them in the oven!
I covered my area with some wax paper and I got a candle to sit my jar on to paint. ( I didnt paint the bottom as it wouldn't show anyways)
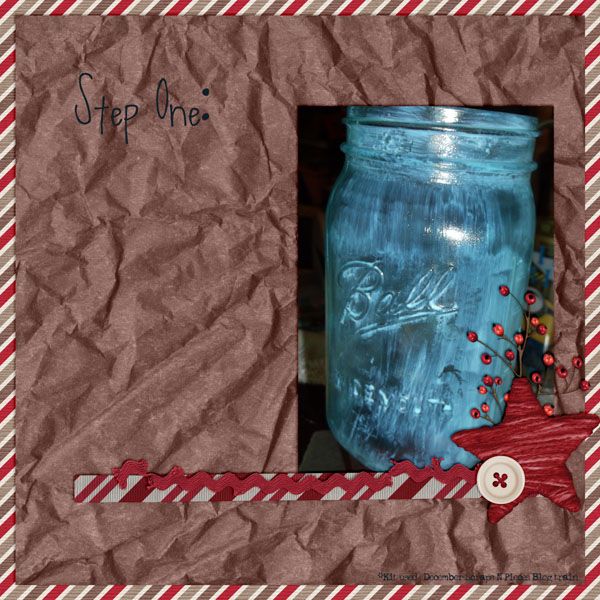
Step 1- Paint it! I let it dry & painted a second coat.
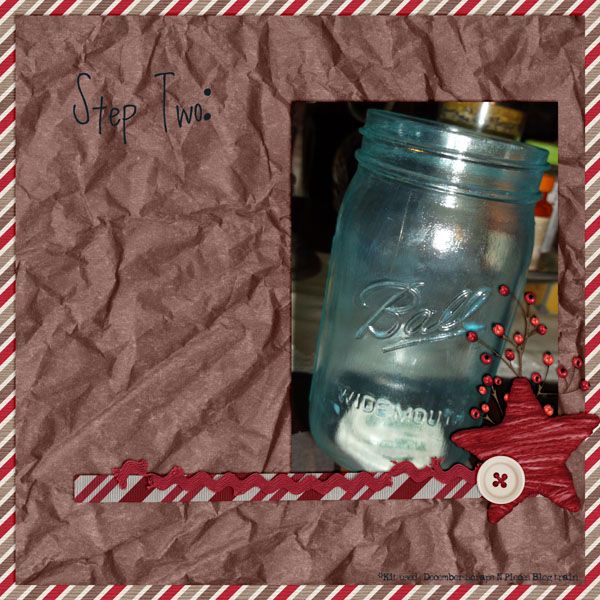
Step 2- Let it dry! this was literally dry in 5-10 minutes
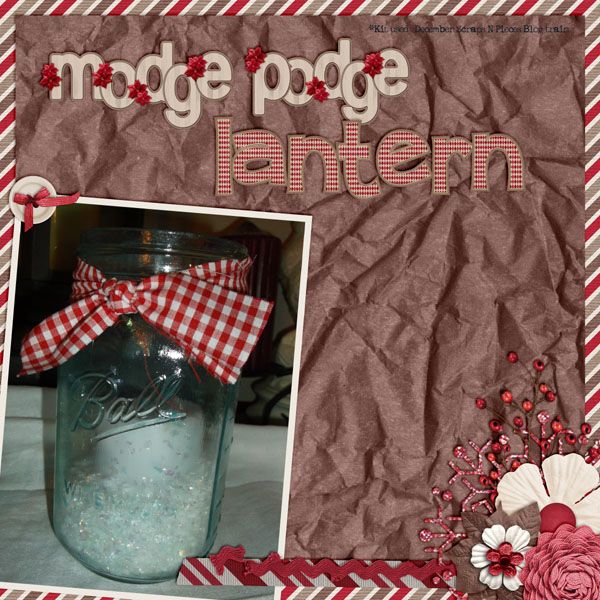
Step 3- Decorate it! I opted for the fake snow. I got mine from walmart... Hey I work there it was easy to grab lol. I placed my white candle down in the jar & then poured the amount desired into the bottom. i made mine not straight kinda as if snow had fallen. so one side is deeper than the other.
I decided to use gingham fabric & rip it. I love the shabby look to it. Then I just tied it around the top...
& Voila!
Super easy & Ohh so cute.
What am I doing with all this stuff.. you will see ;)
Please feel free to share any crafts you have made with me , or if you have any questions
just leave me a comment...
Enjoy!
Happy Craftin Ya'All!
until next time

Subscribe to:
Comments (Atom)


