
It's beginning to look alot like...
Halloween!
I have always loved Halloween. Autumn is my favorite time of year.
crunchy leaves, crisp air, hot cocoa, pumpkins, costumes, carmel apples, popcorn balls, crockpot stew & chili... and of course those wonderful little bite sized
bites of chocolately goodness.
Last year I saw a really cool pin on pintrest for a halloween tree... BONUS.
So I immediately tried to make one. I liked the way it turned out but I didn't love it.
My mom made me some cool little ornies for my bday and I made some other ornies after searching... yep pintrest. Now I am just gonna go right ahead and say I am a pintrest junkie. If there was a 12 step program for it.. I wouldnt go lol
Here is the tree I found from 3th avenue. You can click on pic to go to her tutorial

So this year I was on the look out for a black tree. I almost settled for using my white xmas tree but it had been in storage for the past 9 years and the wasps had decided to build nests in it. After getting them off it was still dirty in places.... THEN I found this...

& this...
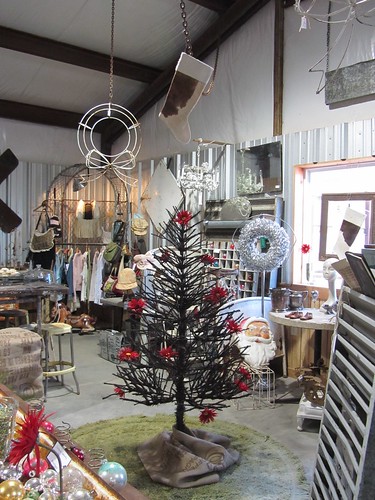
You can click on either of these pictures to go to these wonderful ladies websites. Now these two were not making halloween trees but brown.. but I LOVED this idea.
Sooooo I posted on facebook garage sale sites to see if anyone had a cheap artificial tree they no longer needed. This wonderful lady from Westville commented not only did she have one.. it was FREE!
SQUEEEEAK!
I got the tree and started in right to work.. and work.. and work.. and work!
So todays MAKE IT MONDAY is going to be about
Halloween tree!
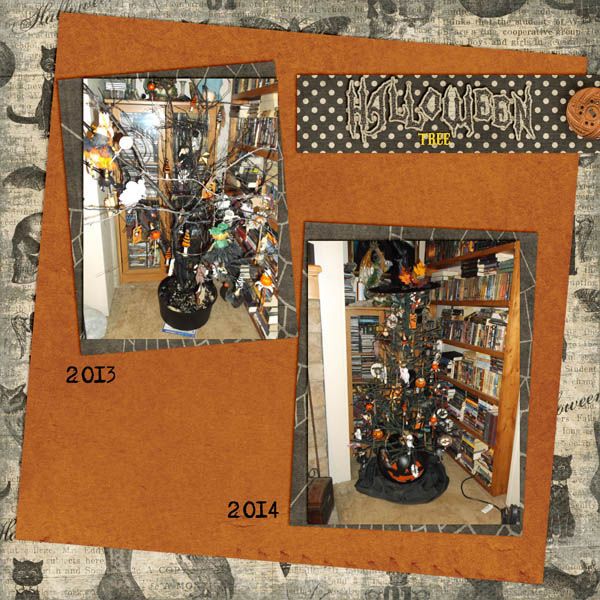
Here is my tree from last year and my tree from this year...
So for supplies you will need:
an artifical tree the size you would like (mine was a 6 ft cheapy from dollar general)
black spray paint
ornies as desired to decorate... more about this on another make it monday
tools:
scissors
lots of patience..
and maybe some bandaids

This tutorial is pretty simple. you just take the branches and start giving them a
haircut. Cutting pretty close to the branch part.
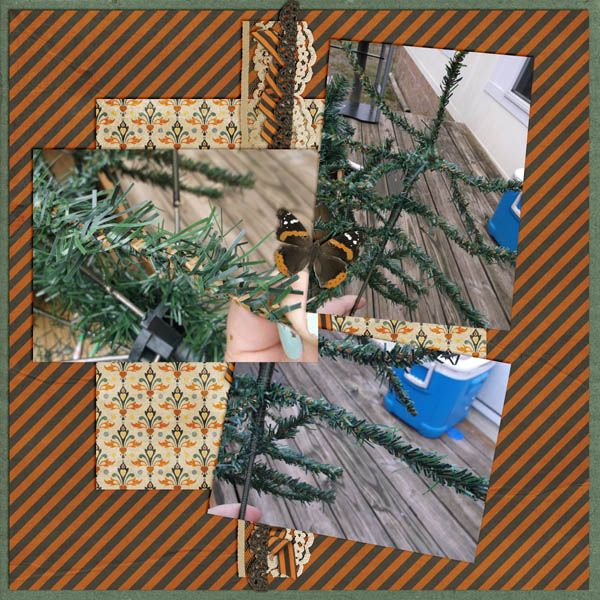
~WARNING~
This is veeerrrryyy time consuming. I started around 11am . My hubby took pity on me around 7pm...
and we finished cutting around 9... yep it took a loooooonnggg time. I got blisters from cutting and cut myself with the scissors twice.. crafting is not for the weak lol.
It kept raining off and on. So I finally moved into my living room placed a big black bag on the floor and the box for the tree and just cut the needles into the box( well most of it went in there). Hey thats what they make vacuums for!
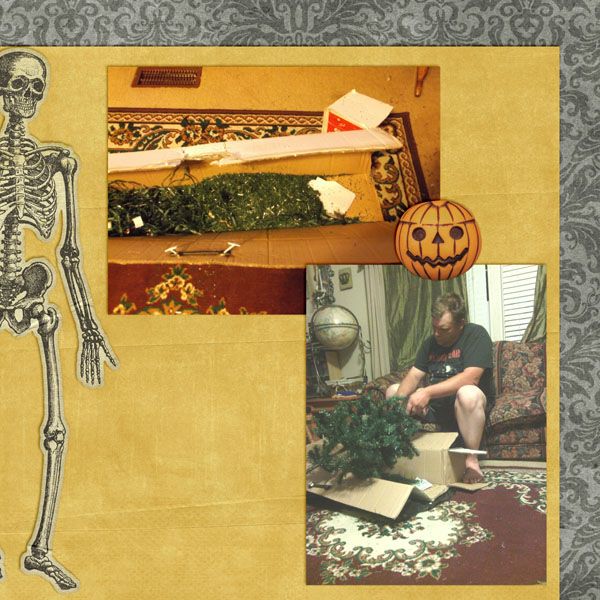
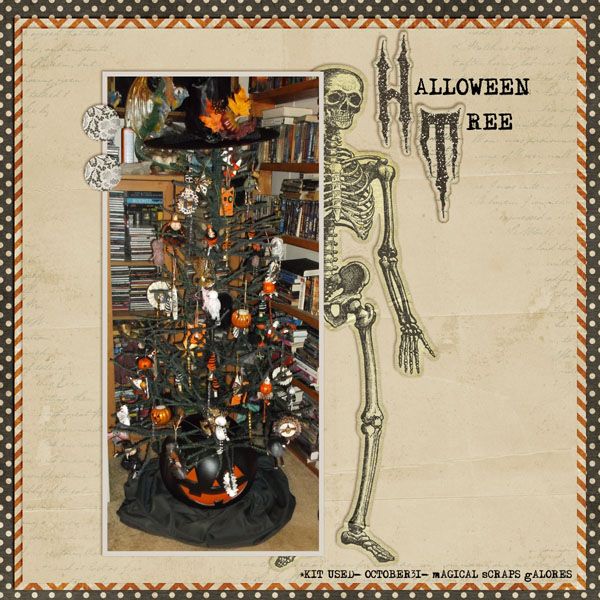
The next day I took it outside and sprayed it black. since this is a halloween tree it didnt have to be perfect so it was not completely painted black there is still green showing in parts but it looks like a dead tree.
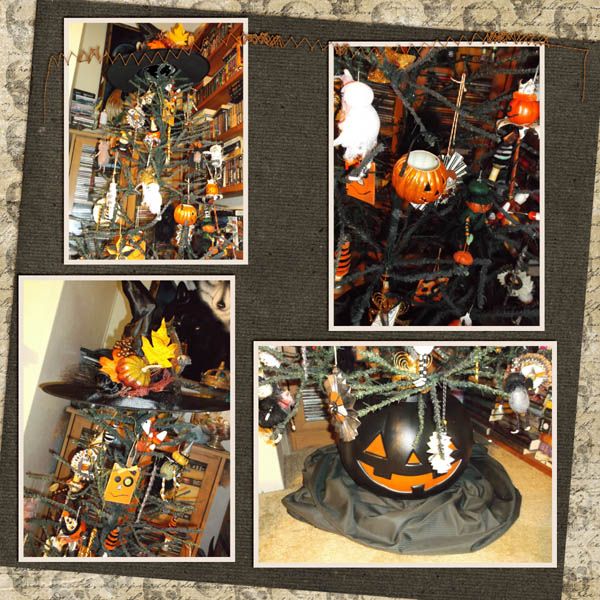
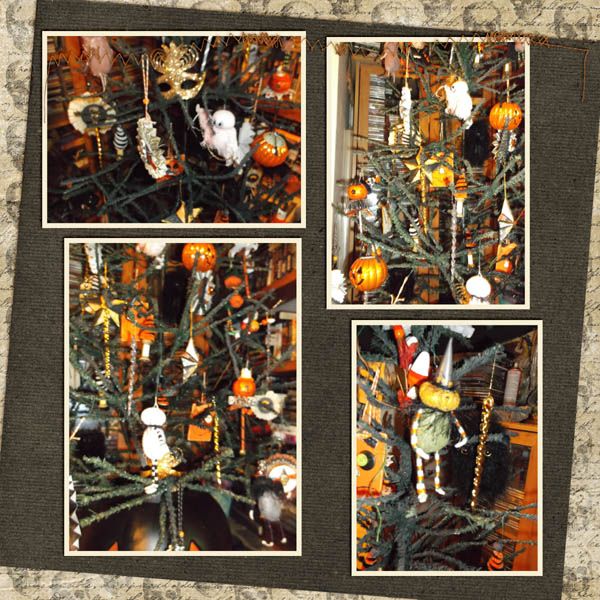
I let it air out... and went in search of my packed ornies from last year... okay i also admit to getting a couple new ones this year. The cute fluffy owl hidden in the branches (theres actually 3) I found at the dollar tree.the dangly spiral ones I bought at xmas time last year for this purpose at walmart. I also bought a cheap withces hat and a fall sprig from dollar general to make the topper... and my fave find is the ginormous pumpkin I found at target I put the tree in. I (tried and failed had to have hubby do this part) cut a hole in bottom of pumpkin and then just slid the tree bar through and attached it back to its base. Then wrapped 2 yards of $1 a yard material from walmart around the bottom to cover the base... voila... Finished!
It's all in the details...
If you have made a halloween tree or have seen any cool halloween ornies send me a comment and let me know... Enjoy!
until next week
Happy Craftin Ya'All!

No comments:
Post a Comment