Wednesday, May 21, 2014

Monday, May 19, 2014

Make it monday~ Milk Glass & Sea glass ornies

It's another make it Monday!
I almost didn't do anything this monday, but decided to pull out some of the ornaments 
I made & share them for this make it monday.
At christmas time I went to silver dollar city in Branson , Missouri. they had a big huge shop 
set up with all sorts of trees with ornaments for sale. I fell in love with the snow and pastel ones.. and then i went searching through pintrest... thats never a good idea... or it is depending on who's looking at it lol.
I went in search of my old balls and found some that was the right color, then went to hobby lobby. I wanted that vintagey seafoam minty green but noone had it, pinks, light blues, and silver and white.
So I made myself some... sometimes being craftsy is AWESOME!

I love the milk glass balls I have seen on pintrest and you can make em whatever color your heart
desires.. Score! & I also loved the sea glass coloring of the mason jars...
So I made some!

You can find the tutorial for the 
Milk glass ornaments right HERE!
So gather up your things...
supplies: plain glass balls ( I got mine at hobby lobby for 50% off)
Acryllic paint in whatever color you like
A place to let them sit & something to let the excess paint drip out of.
Step one.. this is really hard...
you squeeze some paint into the ball. you then turn it over and have to manipulate the paint to go where you want it to cover all the areas. I had to put more paint in .. used swirly motions tipped it one way , tipped it the other, rolled it lol...
Eventually it gets completely covered. I held it over my paint and let the excess drip back in for awhile. When it seemed to stop. I moved it.
Step 2. place somewhere to let dry... upside down!
I had some muffin pans I got at the dollar store that always makes things stick so I decided to sacrifice them.
I placed some wax paper under them to catch excess paint.. and there was alot of it.. BE WARNED!
I later confiscated some unused toilet paper tubes and used them ( I was saving them for antoher project for firestarters lol) this got them up and not sitting in the pooling paint. Good thing is that you can clean the outsides off relatively easy so if you get some on them, you can fix them.
And that is it. Let them dry completely or the paint will pull away from spots and leave an uncolored spot.
If that happens just repeat put a little paint in and cover back the spot, and let it sit upside down. I let mine sit for several days and was really suprised at all the excess paint that came out & was wasted.

Now that they were done.I  left about half of them the way they were & decorated the outside of some of them, from inspiration I found on pintrest.

Now the 
~Sea glass Ornaments ~
I found this tutorial right HERE!
Here's what ya need
Supplies: clear class ball, modge podge, food coloring, & something you can cook this on.. i used my old muffin pans
step 1- take a couple teaspoons of modge podge ( i actually used about 1/4 cup), & add some drops of food coloring and a few drops of water to thin it out a bit... this is not an exact science the darker your color is the darker the glass. you can see my colors but they turned out darker than I wanted.. thats okay I still like em)
After mixing them pour some into the balls and swirl around , cover all the areas. turn upside down and let the excess drain out just like the milk glass balls. 
Step 2, When you believe you got all the excess out, place them in your cooking pan. I also stuck mine in toilet paper rolls first to keep the excess from getting on the outside,
Step 3- set your oven to 200 degrees Fahrenheit let them sit in the oven for 1-1/2 hours.. i let mine sit a little longer than that. you will see the color getting translucent.

Remove from oven & let cool ... & your done.. or you can decorate the outside. Mine turned out darker than I wanted , I still used them and like them.. but I really wanted more of a lighter color... note to self for this year lol
& there ya go Milk glass & Sea glass ornies for your tree!
you can follow me on pintrest by clicking HERE and clicking follow... and if you have any ideas or great pins... let me know in my comments and I will follow you...
Here's a few more of my Xmas inspirations....

Happy Craftin Ya'All!

Thursday, May 15, 2014

Hopes & jeans ... a new kit from Marie H Designs!

Have you seen Marie H designs new kit ? Hopes and Jeans is a soft lovely kit perfect for all your spring, jeans layouts and so much more. It contains 23 papers, 51 elements and 1 alpha This kit is at 50 % off for a limited time. You can find it HERE
mhd_HopesJeans_preview 
 Here are layouts inspiration created with this wonderful kit. CTlayouts 
This kit was created as a matching kit to her May Scrap N Pieces blog train portion. You can find the freebie on her blog HERE. mhd_HopeandJeansAO_preview 
Have a wonderful day!


Graduation day , a new release from Magical scraps galore

ConGRADulations and Hats off to the Grad!!  Graduation Day by Magical Scraps Galore is packed with everything you need to scrap all of your graduate celebrations and memories, from kindergarten to college and in colors that work nicely for boys and girls alike. 

This collection includes 1 full uppercase alpha with numbers and punctuation), 25 textured papers (6 solids, 19 unique patterns), and 70 unique elements.

Graduation Day is available at Scraps N Pieces, 30% off through May 21st:


My amazing CT members Karrie and Wendy created these beautiful freebies for you! Visit their blogs to grab them:


YOU CAN FIND MINE RIGHT HERE!

Thank you and have a great day!

Wednesday, May 14, 2014

wordy wednesday

It's wordy Wednesday! Okay It's something new I'm starting... I am going to warn you ...

I am a disney crackhead!
So most of these will be disney oriented. I was looking at my pintrest and saw a bunch of these and thought they were too cute not to share so... for the first wordy wednesday....

Since we just had mother's day... Here ya go!

Happy Wednesday peace love & joy! 

Monday, May 12, 2014

Make it monday- Leather bracelets

Woohoo It's monday... NOT!
But it is make it monday so.. YEAH!
Today I am showing you how I made some leather bracelets.
Im Telling you Pintrest is a baaad place lol.
If you wanna follow me on pintrest, you can find me here!

Okay so I saw these on pintrest and had to make some... yes I had to !
You can find these beauties right HERE!
to start off gather your supplies
* tools- scissors, pliers,hammer & nail or a leather hole punch,  needle, & thread (I used embrodery thread cuz of the colors)
suede leather strips ( i found at hobby lobby) cut into desired length.. I did mine 7 inches
some suede leather cord (i had extra from other projects)
word bands from tim holltz 
pony bead or a bead with a big hole
~1st what i did was cut my leather into 7 inch strips. I had 3 different colors- black brown and cream. I came out with15 strips but only had 12 word bands,
~ then I placed the word bands on the leather centering it, and marked holes- one in center of word band hole and right on the outside of it.
I could not for the life of me find my dang leather hole punch so after researching on the internet I finally grabbed and old board a nail and my hammer. & proceeded to make the holes. Later my brother in law brought his leather punch and it was soo much easier and looked nicer.
~ since a bracelet is not flat I had to try to shape these. I have seen on the internet they make a really cool bracelet metal bending plier.. but I don't have one ( hint hint - hubby!) So logically I used a wine bottle. later I did it again with a smaller soup can to get more of a round shape... warning this kills your fingers!
~ then I proceeded to tie the bands on the holes I made, I went through 3 times. made 2 knots in the back , and cut the cord close.. then I used e-6000 glue to make sure it stayed put.
~after it was dry, I used the hole punch to punch holes close to the edge of the ends. 
I cut off about 3 inches of leather cording, & put it through the holes.
Then put on matching ponybeads to the colors I chose for the thread.
I decided to dress mine up a bit so I got out my eye pins some beads and my looper. I made some dangly beads and placed them with o-rings in the holes attacthing word bands.
I gotta say i love these! I really wish I had one of the bending pliers but I still like them!

Enjoy! & If you make any send me a link I would love to see them!


bad blogger.. but I have a really good excuse

I know I have not been a very good blogger lately.
I have recently found out that my cancer is back and I have been
taking meds for it. They make me so weak and tired. I promise to try better...
sometimes just having an outlet for my frustration helps. Im working on a new make it monday and I am going to try to do a quote of the week wednesday..we will see!
I hope you all had a wonderful mothers day. I layed on the couch all day watching black sails marathon, with hubby rubbing my back. He made me a steak dinner, with baked potatoes , buns, and salad... Sadness is that i am still eating on it (He made it saturday night after I got off work I ate some for lunch today and still have some left)  I did eat some yogurt yesteday and that helped a little so I may have to buy a bunch of yogurt. He bought me the newest tinkerbell movie but I just havent watched it yet. He even made me a banana split complete with vanilla ice cream , bananas, pineaple, strawberry, & hot fudge sauce and even put on a cherry... AWWW! 

I know this road is hard, some days are worse than others.. sometimes I wanna cry, and sometimes I just wanna scream... but hopefully the end will have a positive note...
And just as a side note... I know they say god only gives you what you can handle.. I think he may have overestimated me some days lol
and what doesnt kill you makes you stronger.. whoever said that never had to stop on the side of the road to throw up before work...lol
* True story, I am heading to work the day before mothers day. I had to stop to get sick, this very nice couple stops to see if I needed any help... If someone could die from embarrassment that would have been one of those times. It makes me thankful there are people in this world that will stop to help someone... just wish it would have not been so embarrassing lol

Cancer sux!
Wish me luck !
~ KARRIE


Ponytails designs has unpacked her template grab bag

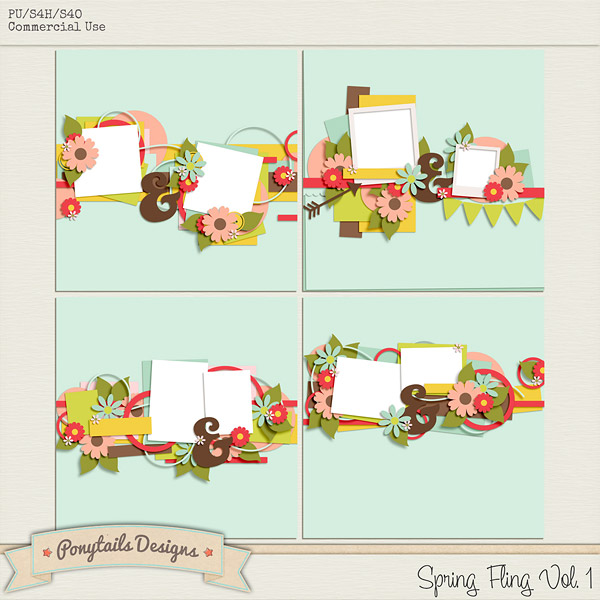
Ponytails Designs has unpacked her iNSD template grab bag, and if you didn't snag it then you can still pick up the individual sets at 30% off this week. ponytails_springfling1_preview
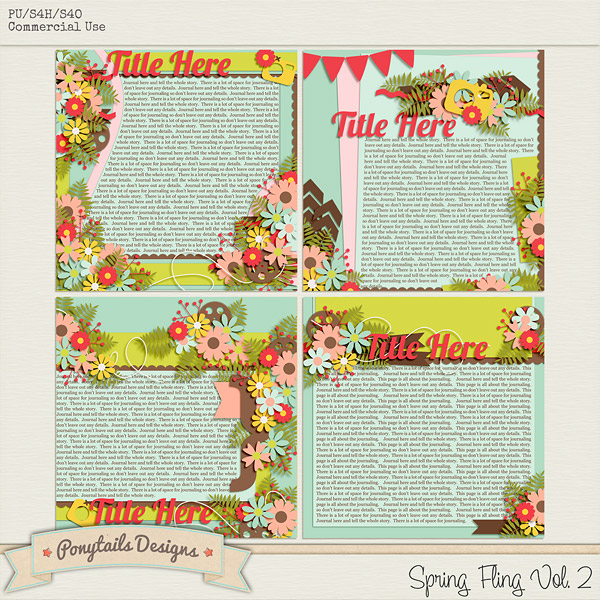
ponytails_springfling2_preview
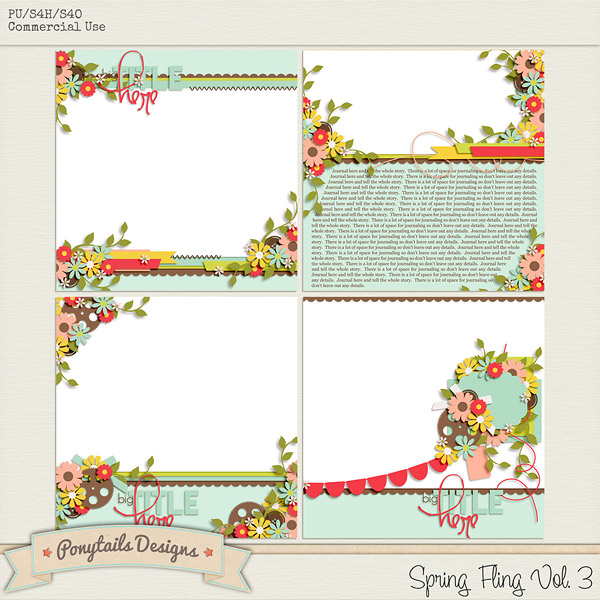
ponytails_springfling3_preview
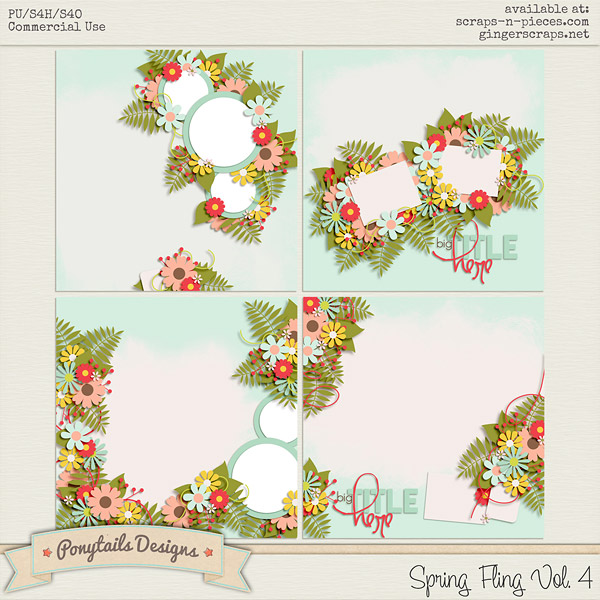
ponytails_springfling4_preview
ponytails_blog ct inspiration
ponytails_springflingGB_prev
ponytails_blog freebie
Natasha hosted a speed scrap over iNSD weekend and made a template from the instructions. She's giving it away on her blog as a little freebie for you. Enjoy!
folder
signature
Here's what I did with them

Happy Scrapping Ya'All!