
Hey it's monday & you know what that means?
MAKE IT MONDAY!
I know I havent been a very good blogger & kept up with it but Im gonna try to.
I am soo in LOVE with big chunky jewerly. A customer told me about an amazing little shop the outher day where she had gotten here necklace for.... $5! YES...$5!!!!! And it was just in my backyard. I had never heard of it so I went to check it out on my day off... Ah-mazing! The store's name is silcox,( for anyone that lives around here )and can be found on hiway 12 in gentry. Don't let the scenery fool you. It is all fields and farms.. I thought maybe I had gone the wrong way.. then there it was sitting off to the side.
I was just on a recon mission. But hubby took me back a couple days later & bought me a really cute turquiose and silver necklace.. so cute!
So anywho I LOVE me some chunky jewerly. I went over to youtube to look at their statement necklace videos and found a super cute idea... Safety pin & pearl necklace.
the guy who does the video is really funny. the video is short, fast & sweet... no long boring tutorial here. And I even commented asking if he had a written tutorial and he wrote back right away telling me no, but he would help anyway he could.. SWEET!
Yesterday It snowed (We arkansasians..is that even a word... have the most moody type of weather...we had an ice storm.. then 70 degree weather for a week then it snows) I didn't want to go out So I decided to get my craft on... gotta love craft stashes.
Here is the link to the video...
and here's how I made mine...
First gather up your supplies.. this could literally be a dollar store craft
you will need...
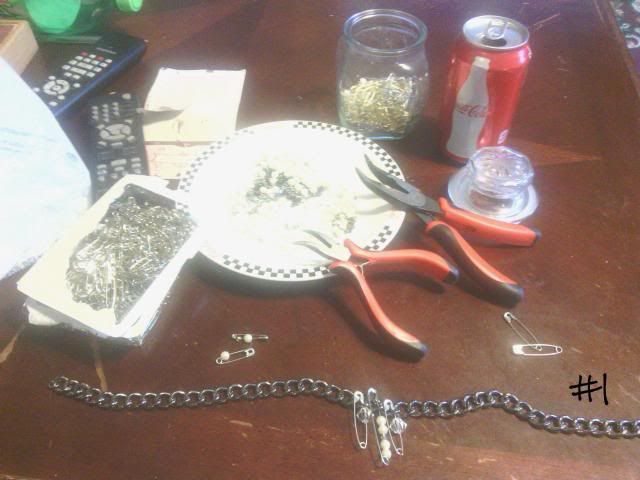
*Safety pins in various sizes
* a choker type chain
*different beads- I used pearls, crystal some black beads, and some pink ones
* jump rings
*small chain
*tools- 2 needle nose pliers, nippers
- & YES the coke was essential to the creative process (lol)
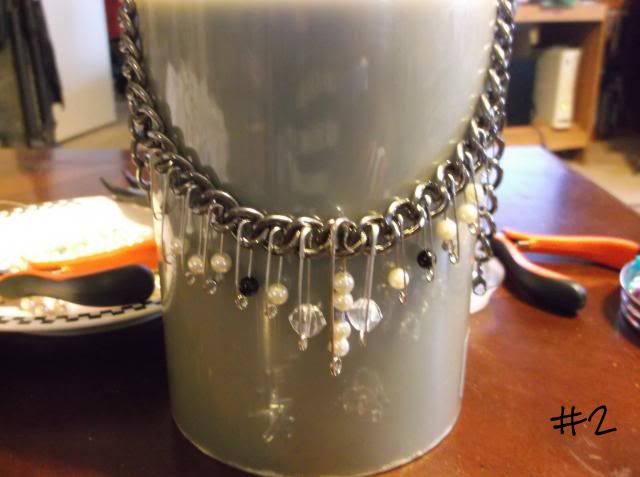
In the video he has his necklace laying down. I found it to be easier to pin mine up like it was being worn.. I use a handy dandy candle..lol.. don't judge... it works !
What I did first is put beads and crystals on all sorts of pins first , keeping them sorted in groups & cutting the chain into 2 inch sections.( I know I should have taken a picture of that.. shoulda woulda coulda.. oh well next time)
Then I found the middle and placed one safety pin on and went from there. I went o where I thought it would look good. I have 8 on each side. I also used bigger pins and worked down to smaller but you can do them however you see fit.
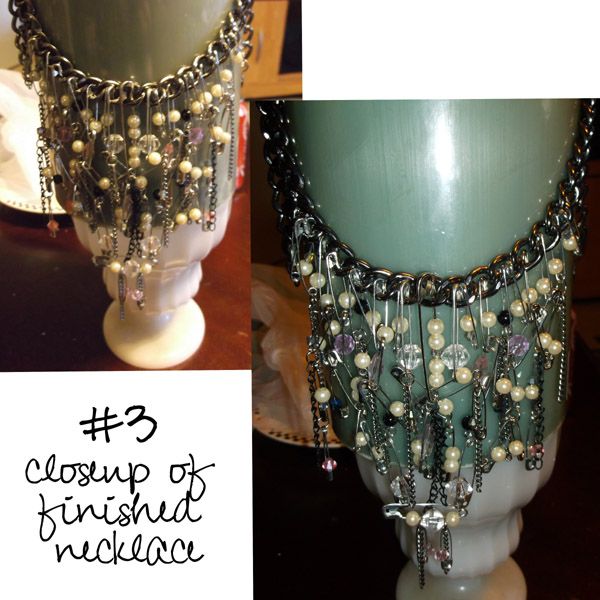
Now after this point I will admit to watching the video over and over in parts to see exactly he was placing his safety pins but it seems to be a trial and error type of thing. You just want to make it stagger down into a V.
I used jump rings to add chains to the ends of some of the safety pins.. and I used jump rings to attach some of the safety pins to each other. It's not perfect But I'm pretty Proud of how it turned out.
... And the best thing.. this cost me...$0!!! All the stuff I had on hand
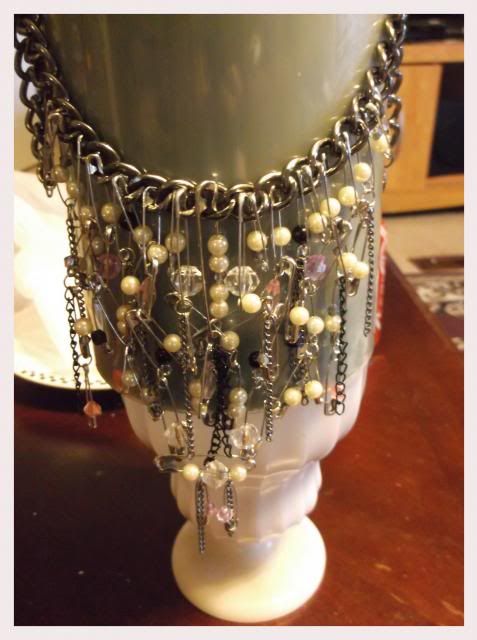
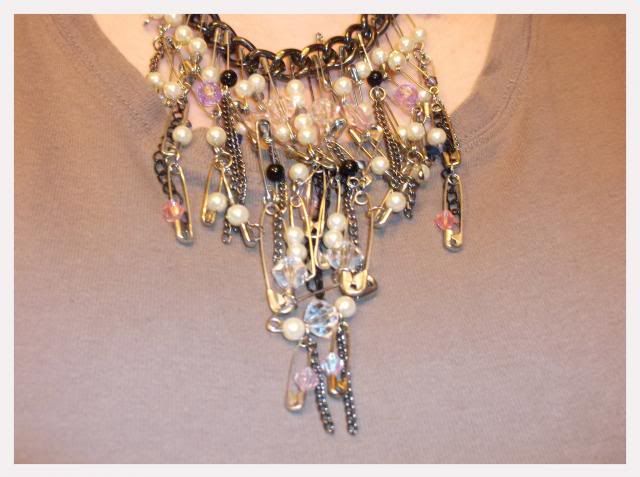
Here's how it looks on
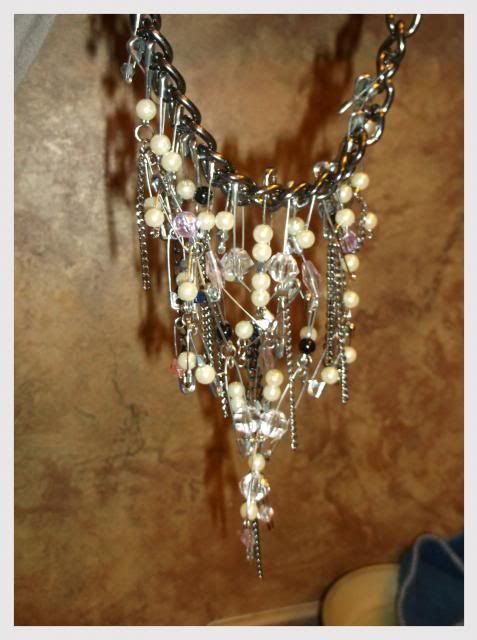
and one more hanging to see details... sometimes to me that makes it easier to figure out if you can see details
So go make yourself one... & if you do comment and send me a link I'd love to see it!
Happy Crafting Ya'All!
Wow! This is terrific! Thanks for sharing with me. Big hugs, Mark
ReplyDeleteMark thank you for teaching us!
Delete