
Okay I know I have said it before but I LOVE all things vintage.. especially jewerly!!!
I was on pintrest one day and came across some stacked button necklace. It was so dang cute and looked like it would be easy to try... so I tries! & I was delighted with the results.. seriously I have seen some of those pintrest fail posts and did not want to end up like that lol.
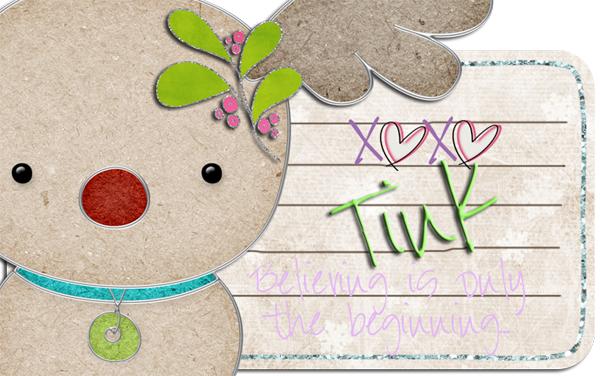
Here is some pictures of the necklaces...
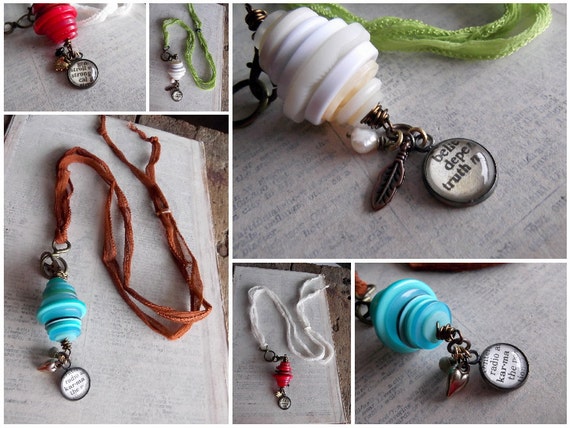
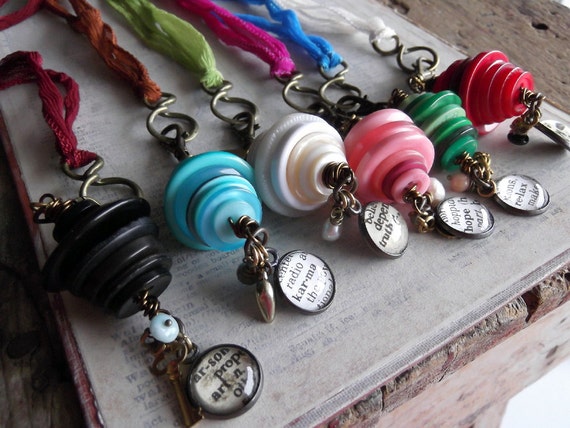
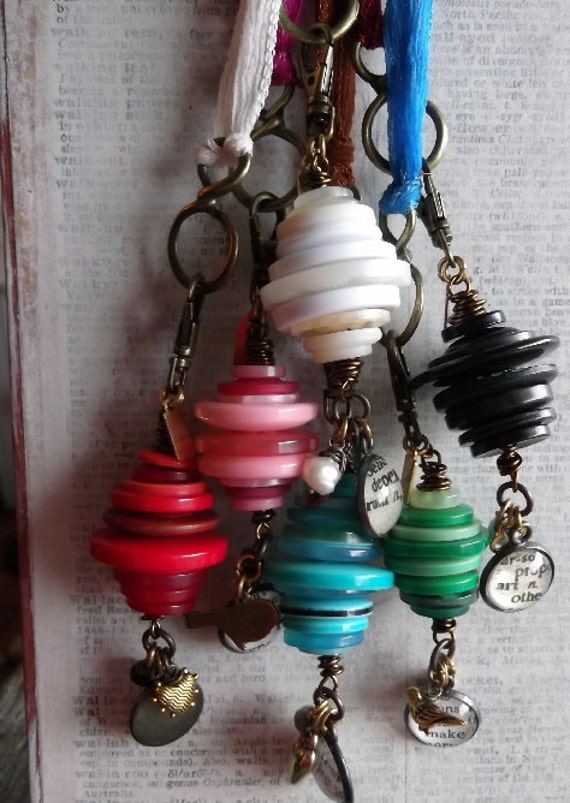
Absolutely Yummy .. Right?!?
You can find these HERE. This is an etsy site so these are for sale ... no tutorial .
Okay so I looked at these and thought hey I could make that!
Here's what you need:
*Buttons
*some sort of chain ( I used velvet ribbon, they used satin ribbon.. you decide what you want to do.. it's your necklace and your style!)
*charm or charms to hang at bottom
*jumprings
*eye pin
*tools- needle nose pliers, clippers, the rounded tip pliers
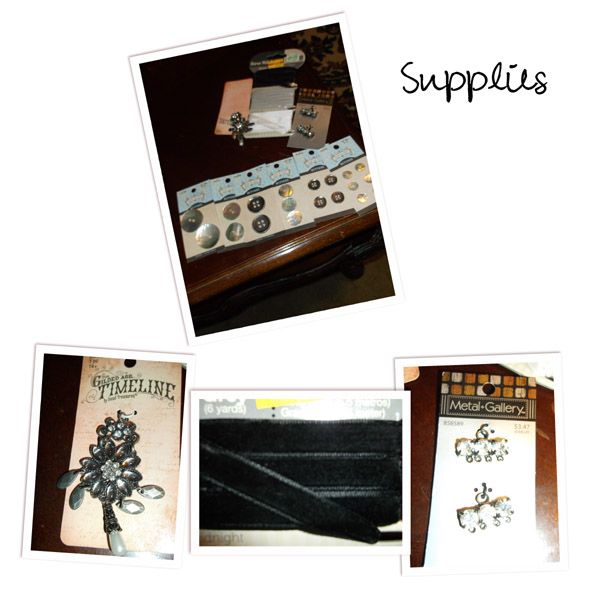
I wanted to make my necklace vintagey looking so I used shell buttons and some silver ones. I used velevet ribbon for the chain, I used fancy rhinestone encrested clasp type things for top, and a really neat vintagey charm from the timeline collection at hobby lobby. Seriously hobby lobby has 50% off sales all the time just keep a look out. That place is like a crafters heaven.. if you don't have a hobby lobby near you... you have my sincere condoleneces!
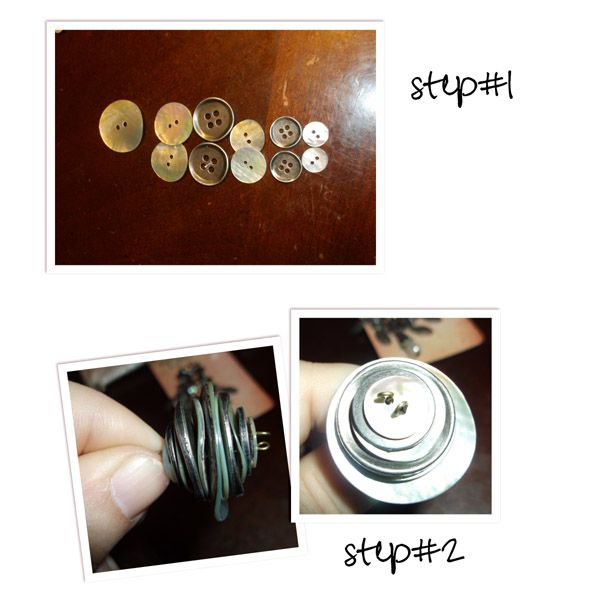
Okay first step is rearrange your buttons how you want them. I used one really big shell button for the middle. Then I used 2 large shell buttons next , then 2 large silver buttons, then 2 medium shell buttons, 2 medium silver buttons and ended with 2 small shell buttons. ( I found out the hard way that they shell buttons are very fragile.. luckily the one that broke had 4 in the pack... be careful with them)
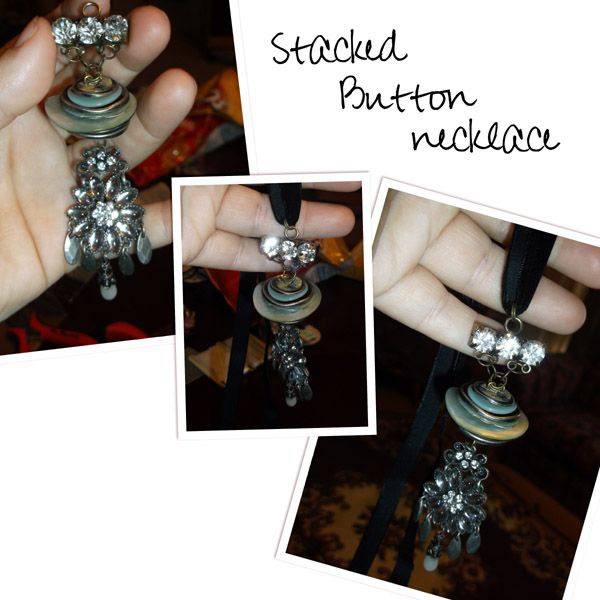
Step #2 After you get them sorted how you want them, grab a eye pin and start putting your bottons on. I ended up using two to make it more sturdy, I just put the eye pin through the opposite side of the holes.
when they are all threaded through take your eye pin and use the rounded end pliers to make a loop, nipping the excess off. (if you have not done this before .. be prepared to get frustrated it takes some time to learn how to do it correctly.. I will admit to cursing it to a pit of endless darkness several times)
Step #3. I used two jump rings to attach my rhinestone clap thingy (sorry I know thats not the technical word but I have no clue what it's called) to the top of my stacked buttons.
Step #4. Attatch your charm or charms to the bottom of the stacked buttons with another jumpring.
Step #5. I put the velvet around my neck and saw where I wanted my necklace to hang and cut. then I sewed the two ends together with my sewing maching. I then attached that to the clapy things with another jumpring....
& VOILA! Your done. Its pretty easy craft to do and I loved the end result... Now to wear this bad boy !
If you make or have made one of these I would LOVE to see it, or if you have any questions, just leave me a comment down below :)
Happy Crafting Ya'All!
Beautiful!
ReplyDelete