
It's another Make it Monday!
Today Im gonna show you how I made a
Faux screen door Shelf


 I thought this looked very cute and shabby .. which is what my laundry room is.
So I decided to try this on the plain white book shelf I have in there using as a food pantry.
Here's whatcha need to make the one I made...
*1x2 ( thats what I used as it was light & I didnt know how well the shelf would hold it)
*2 hinges
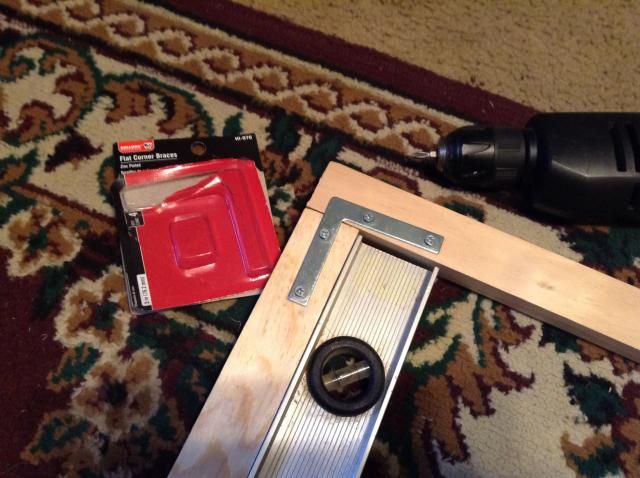
* 4 L brackets
* an old handle or something you want to use to open your door
*balsa wood
*decorative wood thingy.. dont know the correct term for it lol
*paint ( I used antique white, & black)
*screen
*cutup cardboard strips
* hook and eye latch
Tools: drill, staple gun, paint brush, glue
To make:
1) First thing I did was measure my shelf to see what dimensions I needed . Mine was
71 h x 29 3/4 w. My wood was actually more like 1 1/2 inches wide... So I cut 2 peices 29 3/4 & 2 that was 68 (1 1/2 x2= 3 71-3=68). Take all 4 peices and lay them out in rectangle shape.
2)Take your 4 L shaped brackets and you are going to hook the rectangle together. Make sure that your short peices are on the top of the long peices, and that they are flush. (I used a level in the corner) Screw the L bracket into place.. and repeat for all 4 edges...
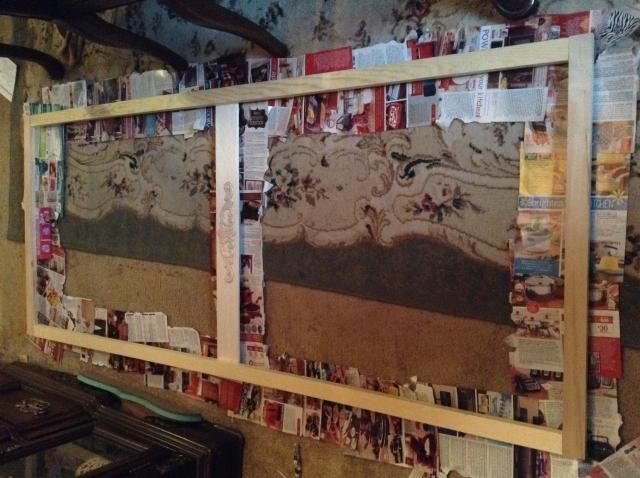
 3) Now take your balsa wood. Mine was 3 feet long by 4 inches. decide how long you need it and mark it. Using an exacto knife.. Yep.. exacto knife.. that wood is soft.. which reminds me Note: this wood is soft becareful not to break it!
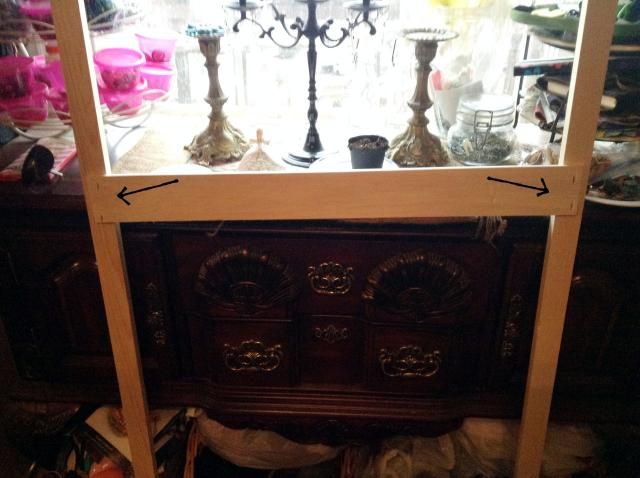
And cut it. Now using your staple gun staple it to the backside... this is the side that has the L brackets not the side that will show.
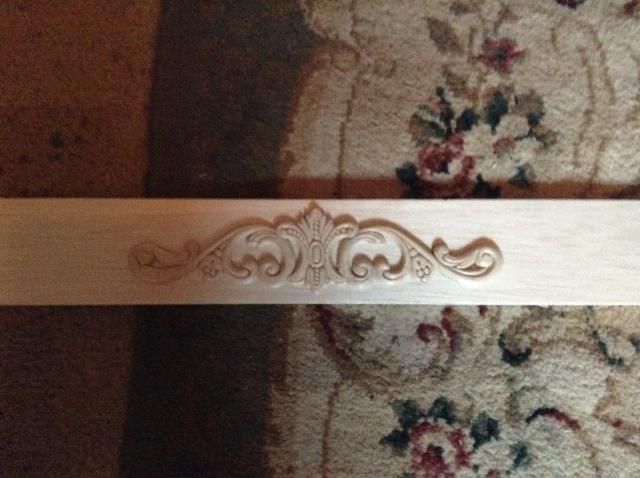
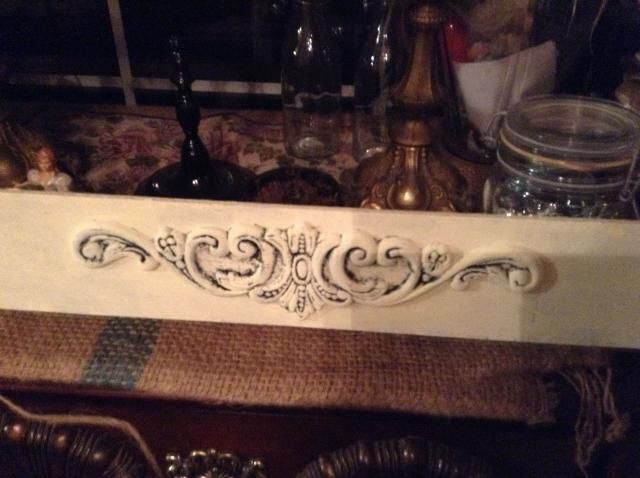
 4) now glue your wood decorative thingy in the middle on the front of your screen.. the side that will be showing
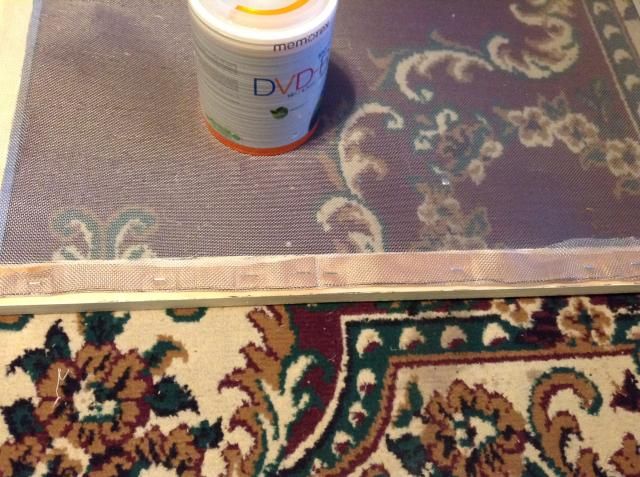
 5) now is time to paint this.I placed old magazine pages all around and the edges of my screen so I didnt get anything on the floor.. and because I didnt want any of the pages to stick to my screen, I used pill bottle caps to raise it from the floor a little.. Hey it aint purty but it works
 6) If you choose you could always spray paint this. It was too cold where I live to do that or I would have spray painted my first layer. I painted mine all black first, then over coated it with antique white, using acryllic paints. I havent decided if im gonna distress some it yet or not.. but that was the reason for the 2 colors.. you could choose just one if you wanted.
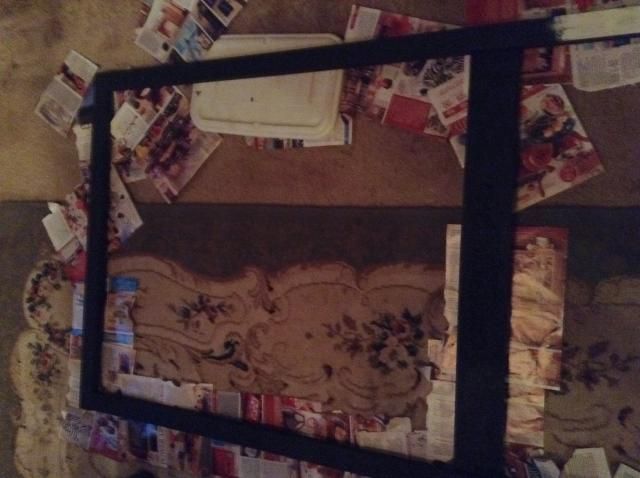
 when I got to the white layer on my "middle" I decided not to coat the entire thing , I just dry brushed the paint on leaving some of the black showing through.
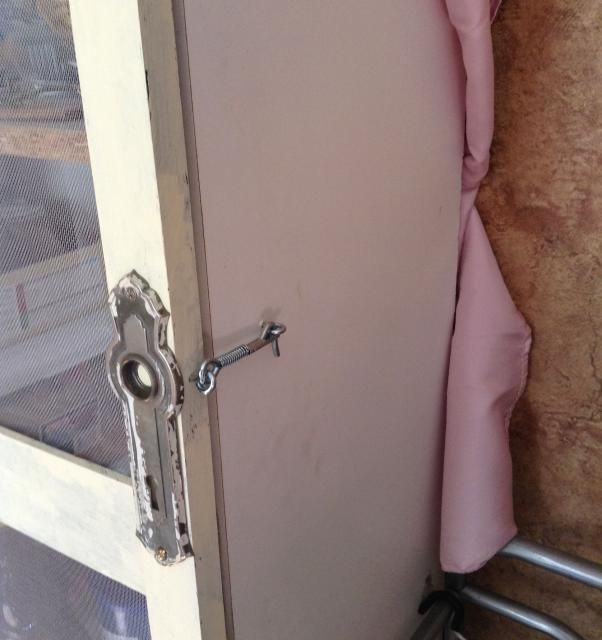
 7) I found this really cool old handle plate minus the knob at a local flea market and fell in love. this worked perfectly for this project, as it's not a real screen door. And yep the paint was already on it. I just screwed a couple screws in and voila...
 acrylic paint dries really fast so theres not a whole lot of waiting around time.
8) Now it's time to attach your screen. I bought a roll of the screen material from my walmart... hey I get a discount lol.
I put it over my frame and measured it out, making sure to leave about an inch more so you can staple it. and cut it out... NOTE: Be very careful I kept getting stabbed my the tiny little screen pieces a I cut... and YES they hurt.. and bleed!
9) cut out strips about 1/2 inch strips of cardboard to help keep your screen in place and to hold
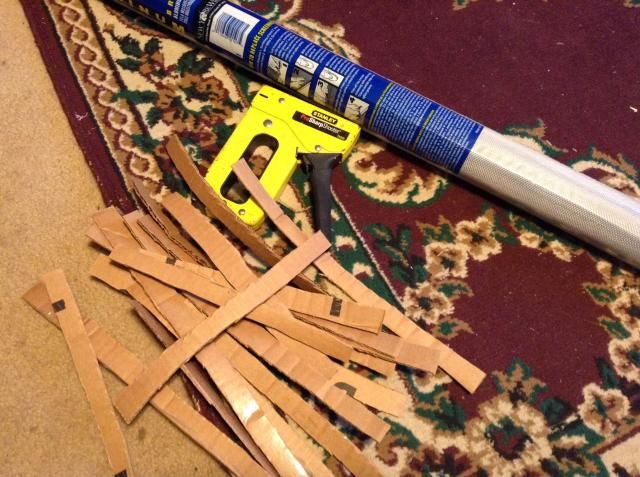 10) Now your gonna staple the screen on. Using your strips, place them on the middle of your wood, and fold the hangover of screen over it. Make sure that none is gonna show if it does tuck it under...
and staple... all the way around. pay attention to your corners you dont want any hanging out in sight.
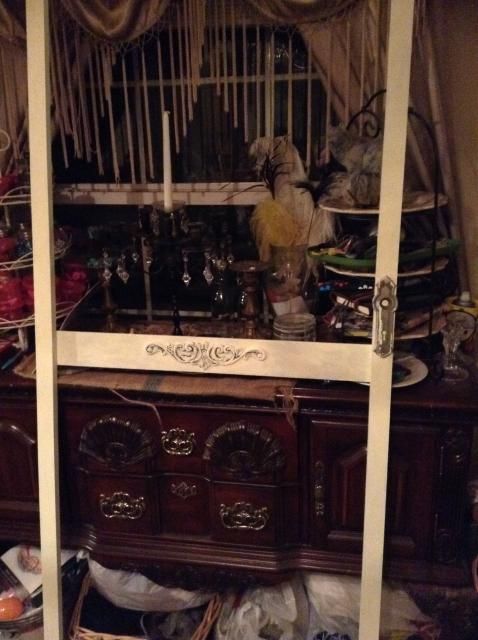
 11) your screen is done.. now its time to hang it.. I got hubby to help me as I had to bend around a shelf to get to the right place.. and it was just easier having him help :)
Put your screen up against the front of your shelf, and make sure it matches. make sure that it can open correctly and not scrape the floor. when you have it in position Screw in those hinges I told ya you needed. We screwed them into the cabinet first and then into the screen. We also placed them about 1/2 way down the top half and halfway down the bottom half. I didn't get a picture of this part sorry. Now test it and make sure it opens and closes right.
12) To make sure my door stayed closed I bought a hook and eye latch and just attached it to the side of the door by the handle and to my shelf... make sure you place them in the right spot first.. and a tip.. drill a hole first.. anyone thats ever screwed in eye hooks know how hard it is on your hands
 and now your done.. stand back and admire all your hard work
 I still haven't decided if Im gonna distress the wood yet, and I wish I could have found some corner pieces all the ones I found where huge . I am also toying with the idea of putting a molding around the top. The nice thing is I can do whatever I want to it.. cuz it's mine lol
Happy crafting Ya'All!
Until next time...


Today Im gonna show you how I made a
Faux screen door Shelf
I found some inspiration on Pintrest.. Here's just a few!
So I decided to try this on the plain white book shelf I have in there using as a food pantry.
Here's whatcha need to make the one I made...
*1x2 ( thats what I used as it was light & I didnt know how well the shelf would hold it)
*2 hinges
* 4 L brackets
* an old handle or something you want to use to open your door
*balsa wood
*decorative wood thingy.. dont know the correct term for it lol
*paint ( I used antique white, & black)
*screen
*cutup cardboard strips
* hook and eye latch
Tools: drill, staple gun, paint brush, glue
To make:
1) First thing I did was measure my shelf to see what dimensions I needed . Mine was
71 h x 29 3/4 w. My wood was actually more like 1 1/2 inches wide... So I cut 2 peices 29 3/4 & 2 that was 68 (1 1/2 x2= 3 71-3=68). Take all 4 peices and lay them out in rectangle shape.
2)Take your 4 L shaped brackets and you are going to hook the rectangle together. Make sure that your short peices are on the top of the long peices, and that they are flush. (I used a level in the corner) Screw the L bracket into place.. and repeat for all 4 edges...
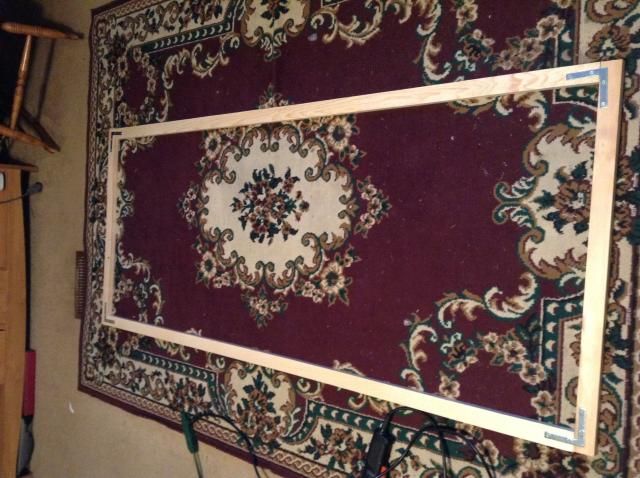
you should now have a rectangle frame like this...
And cut it. Now using your staple gun staple it to the backside... this is the side that has the L brackets not the side that will show.
8) Now it's time to attach your screen. I bought a roll of the screen material from my walmart... hey I get a discount lol.
I put it over my frame and measured it out, making sure to leave about an inch more so you can staple it. and cut it out... NOTE: Be very careful I kept getting stabbed my the tiny little screen pieces a I cut... and YES they hurt.. and bleed!
9) cut out strips about 1/2 inch strips of cardboard to help keep your screen in place and to hold
and staple... all the way around. pay attention to your corners you dont want any hanging out in sight.
Put your screen up against the front of your shelf, and make sure it matches. make sure that it can open correctly and not scrape the floor. when you have it in position Screw in those hinges I told ya you needed. We screwed them into the cabinet first and then into the screen. We also placed them about 1/2 way down the top half and halfway down the bottom half. I didn't get a picture of this part sorry. Now test it and make sure it opens and closes right.
12) To make sure my door stayed closed I bought a hook and eye latch and just attached it to the side of the door by the handle and to my shelf... make sure you place them in the right spot first.. and a tip.. drill a hole first.. anyone thats ever screwed in eye hooks know how hard it is on your hands
Happy crafting Ya'All!
Until next time...
No comments:
Post a Comment