Wednesday, February 25, 2015

wordy wednesday!.. perfectly imperfect


I saw this posted on facebook and knew I had to share this. I think all girls no matter how perfect everyone else thinks they are, all have flaws they see in themselfs. And it is nice for us "normal people" to hear .It doesn't matter to us if you tell us were beautiful, becuase I think we see something different when we look in the mirror. All it takes is one harsh or mean comment in a million but that will be what you dwell on.  So go check out this site read this very inspirational posts and watch these videos.
you'll be glad you did.
perfectly imperfect


Also read this one from Heidi Powell!

Happy wordy Wednesday Ya'all!


Tuesday, February 24, 2015

A new team to CT for!

WooHoo! I am now CT'ing for Anna BV Designs
You can find her HERE!
Happy Scrappin Ya'All!

Vintage Love ... new from Marie H Designs

Are you looking for a sweet Vintagey kit for your Valentines pictures that you still havent scrapped yet? Then you need to check out this kit.
Vintage Love collection by Marie H Designs is part of the new February Mixolody at Go Digital Scrapbooking. 8 packs at only $1.20 each until March 10th.
http://bit.ly/febmixmhd
  Wanna see some inspiration?
Happy Scrappin Ya'All!

$2 tuesday from Marie H Designs

It's $2 Tuesday and Marie H Designs has 2 kits for you at only $2 each. You can also get the extra packs at $1 each.
http://bit.ly/mhd2tues24


Monday, February 23, 2015

Make it Monday! ... Chocolate Cherry Lush


It's Make it Monday time again!
Today Im sharing how to make
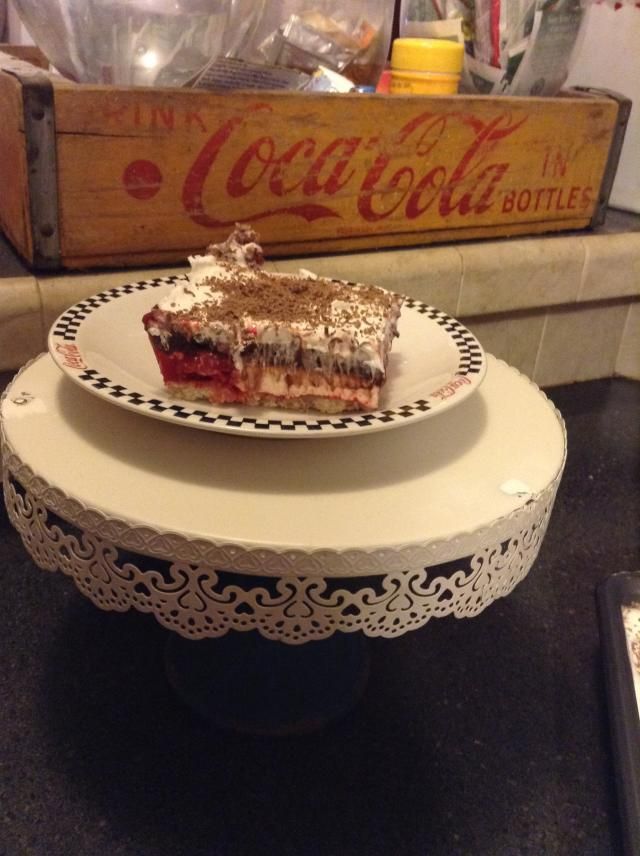
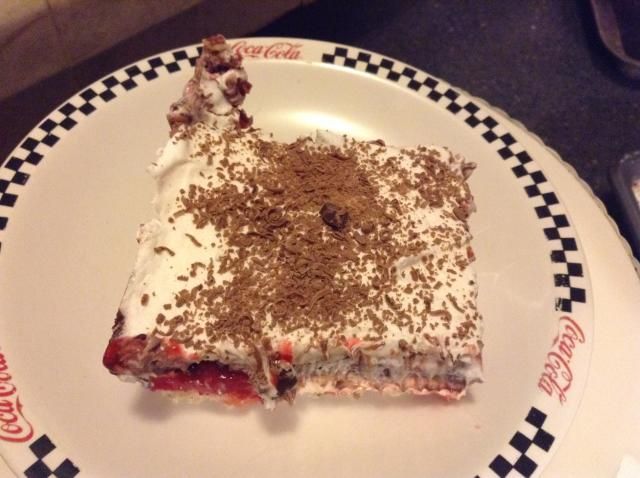
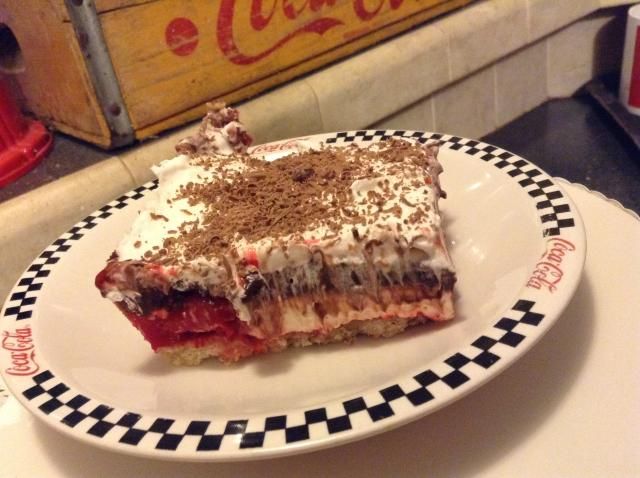
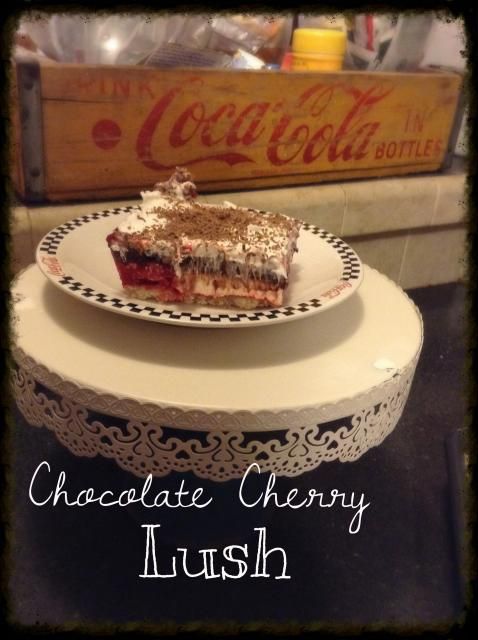
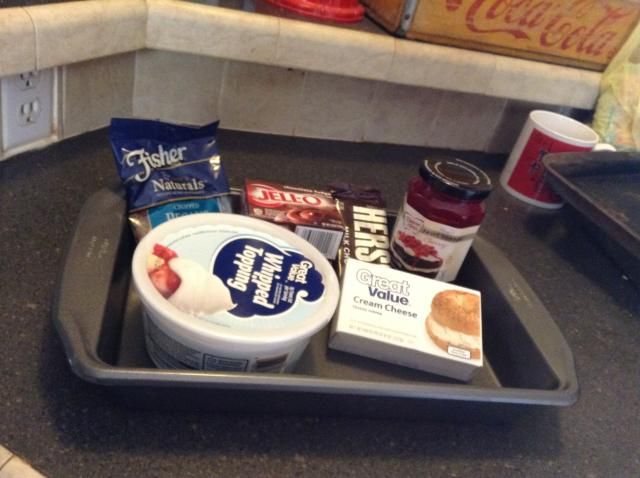
Chocolate Cherry Lush
For those of you  that don't know a lush is a layered dessert. My husbands loves cherry choclates
so for Valentines Day I decided to make him this... He must have liked it cuz I got one peice out
of the 9x13 pan!
So let's get started..
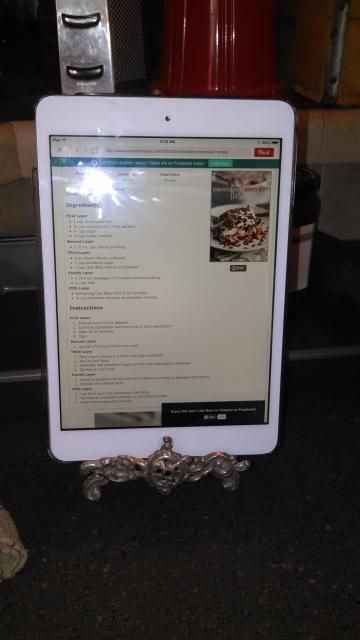
First thing I did was bring the recipe up on my ipad mini. This thing has a ton of uses... okay mostly I look at pintrest & etsy, and facebook and play Disney tsum tsum & frozen freefall...

Ingredients:
First Layer
1 cup all-purpose flour
½ cup crushed nuts (I like pecans)
¼ cup sugar
½ cup butter, melted
Second Layer
1 21 oz. can cherry pie filling
Third Layer
8 oz cream cheese, softened
1 cup powdered sugar
1 cup Cool Whip from 8 oz container
Fourth Layer
2 (3.4 oz) packages of chocolate instant pudding
3 cups milk
Fifth Layer
Remaining Cool Whip from 8 oz container
½ cup chocolate shavings or chocolate jimmies

Instructions:
First Layer
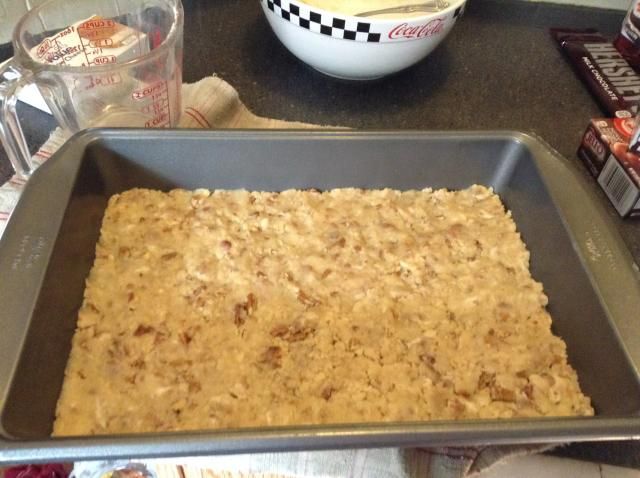
Preheat oven to 375 degrees. Combine ingredients and press into a 9x13 baking dish. Bake for 10 minutes. Cool. 
 
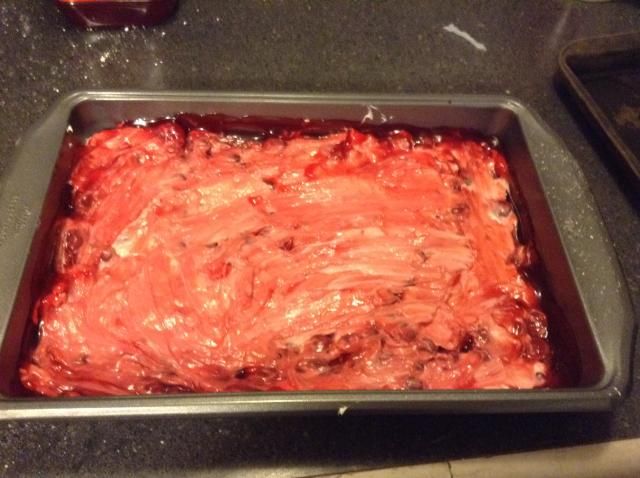
Second Layer
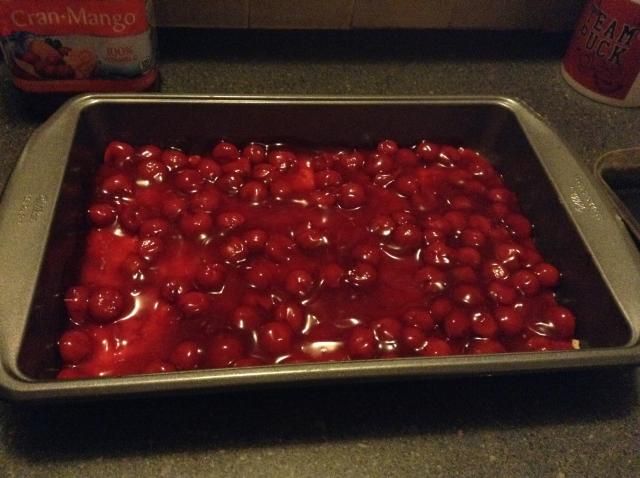
Spread cherry pie filling over crust. 
 
Third Layer
Beat cream cheese in a mixer until light and fluffy. Add in Cool Whip. Gradually add powdered sugar and mix until thoroughly combined. Spread on cool crust.
 
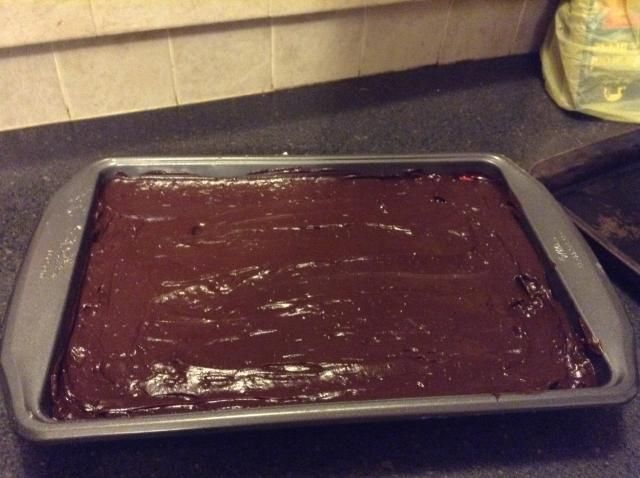
Fourth Layer
Combine pudding mix and milk and prepare according to package instructions. Spread over second layer. 
 
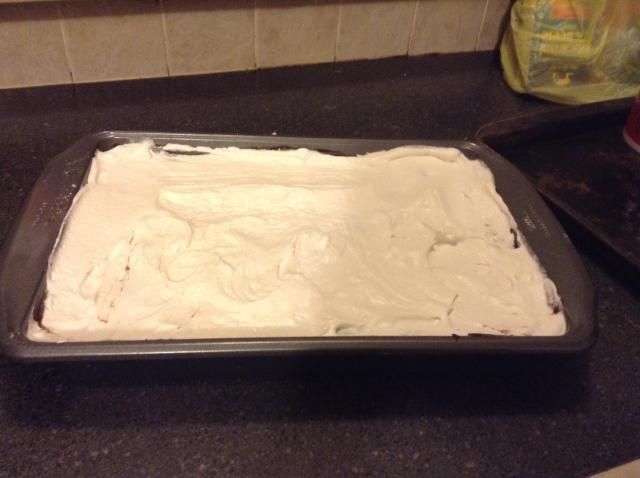
Fifth Layer
Top third layer with remaining Cool Whip. Sprinkle on chocolate shavings or chocolate jimmies. Keep refrigerated until serving.(note:I put mine into the freezer for a little bit to harden up so you could cut it without it being a gloppy mess)


 Now for some details. Mmmmmm!You may now drool .


 Happy cookin Ya'All!
Until next time...
Tuesday, February 17, 2015

$2 Tuesday Deals with Marie H Designs

Today it is $2 tuesday and because of all the cold and snow a lot of us got in the past weeks I have decided to put on sale 2 Summer kits.
2tues1702
You can find them at
Go Digital Scrapbooking
MyMemories
Ocean Dream
Best Summer Ever

Happy Scrappin Ya'All!

Sunday, February 15, 2015

Hello you... a new release from Ponytails Designs & a freebie too!

Sometimes a kit idea will come and it all just clicks in to place. The idea, the colours, the theme... this was one of those kits for Natasha, inspired by a little colour card from Design Seeds. A bright, colorful kit with glints of gold, Hello You can help you tell someone you love that they mean the world to you.
GINGERSCRAPS ~ GOTTA PIXEL ~ SCRAPS N PIECES
Inspiration From the Team

And Heres a freebie for ya...
You can grab it right HERE!
Happy Valentine's Day!

Friday, February 13, 2015

Look who's Celebrating!... a new relase from Magical scraps Galore ( & a frebie from me)

Hello everyone, it's party time!  

Look Who�s Celebrating! by Magical Scraps Galore is a party-themed mega collection full of fantastic and festive treats and patterns. Its bright and fun palette makes it perfect for girls and boys, young and old, and for any kind of parties and celebrations, whether you�re blowing out your candles, ringing in a new year, or just celebrating good times!  

This digital scrapbooking product includes 32 textured papers (22 patterns and 10 solids), 1 full alpha (uppercase and lowercase, numbers and punctuation), and 96 total elements.

This collection is available at Scraps N Pieces and GingerScraps, at 30% off through February 20th:


Some inspiration from the Magical Scraps Galore creative team:


CT member Karrie has created this amazing freebie cluster using Marina's new collection.

You can grab it right HERE!

Don't forget to join the SNP Designer Facebook Hop! Here's a preview of Marina's freebie. To download, go to Magical Scraps Galore's Facebook Fan Page and look for the SNP Facebook Hop Tab:


And that's all for today! Thank you and have a great day!


Monday, February 9, 2015

Make it Monday!.. Faux screen door shelf!

It's another Make it Monday!
Today Im gonna show you how I made a
Faux screen door Shelf
I found some inspiration on Pintrest.. Here's just a few!

http://www.custommade.com/lisas-screen-door-hutch/by/countrywoodsdesigns/
http://www.antiquingarky.blogspot.com/
http://confessionsofthreeformer4hers.blogspot.com/search?updated-min=2012-01-01T00:00:00-08:00&updated-max=2012-09-25T22:13:00-07:00&max-results=30&start=13&by-date=false
 I thought this looked very cute and shabby .. which is what my laundry room is.
So I decided to try this on the plain white book shelf I have in there using as a food pantry.
Here's whatcha need to make the one I made...
*1x2 ( thats what I used as it was light & I didnt know how well the shelf would hold it)
*2 hinges
* 4 L brackets
* an old handle or something you want to use to open your door
*balsa wood
*decorative wood thingy.. dont know the correct term for it lol
*paint ( I used antique white, & black)
*screen
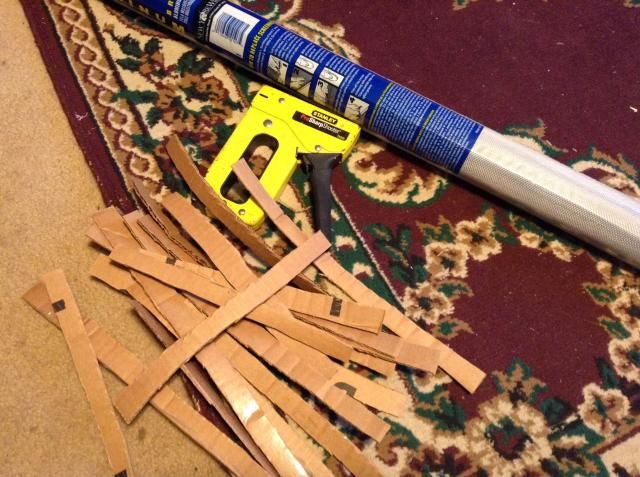
*cutup cardboard strips
* hook and eye latch
Tools: drill, staple gun, paint brush, glue

To make:
1) First thing I did was measure my shelf to see what dimensions I needed . Mine was
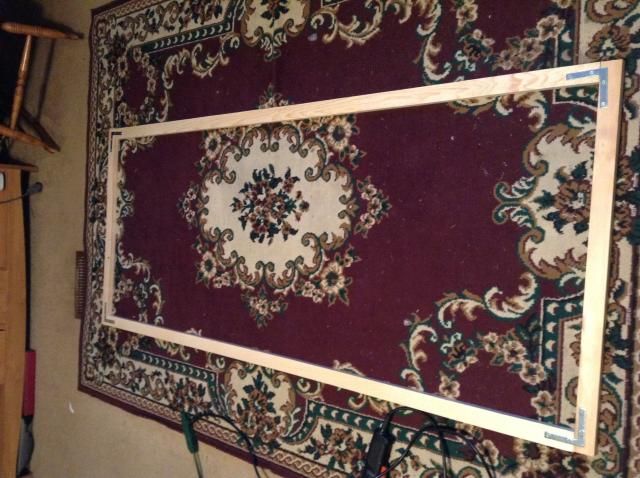
71 h x 29 3/4 w. My wood was actually more like 1 1/2 inches wide... So I cut 2 peices 29 3/4 & 2 that was 68 (1 1/2 x2= 3  71-3=68). Take all 4 peices and lay them out in rectangle shape.
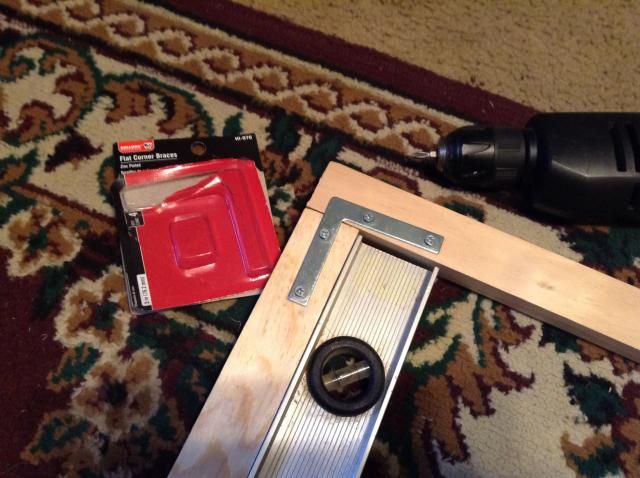
2)Take your 4 L shaped brackets and you are going to hook the rectangle together. Make sure that your short peices are on the top of the long peices, and that they are flush. (I used a level in the  corner) Screw the L bracket into place.. and repeat for all 4 edges...
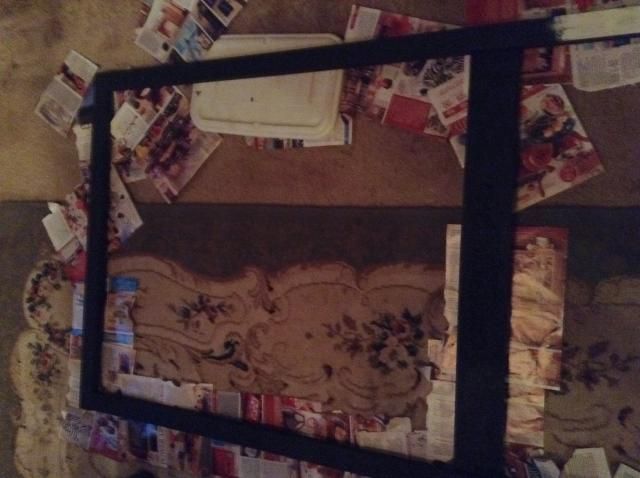
you should now have a rectangle frame like this...
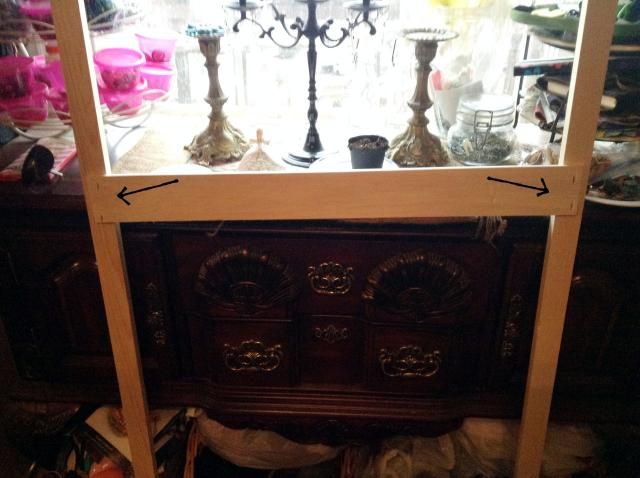
3) Now take your balsa wood. Mine was 3 feet long by 4 inches. decide how long you need it and mark it. Using an exacto knife.. Yep.. exacto knife.. that wood is soft.. which reminds me Note: this wood is soft becareful not to break it!
 And cut it. Now using your staple gun staple it to the backside... this is the side that has the L brackets not the side that will show.
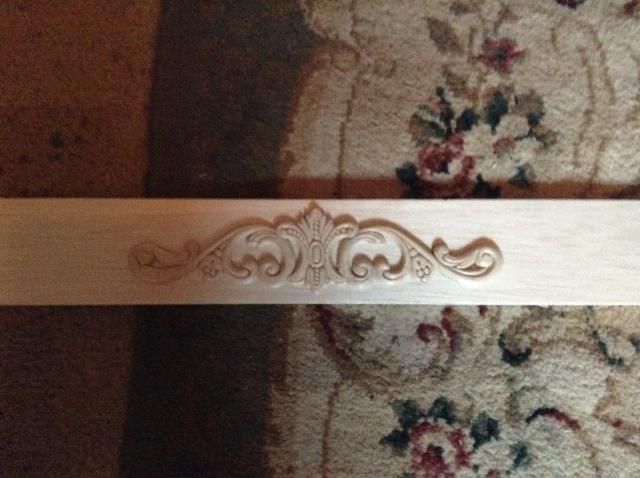
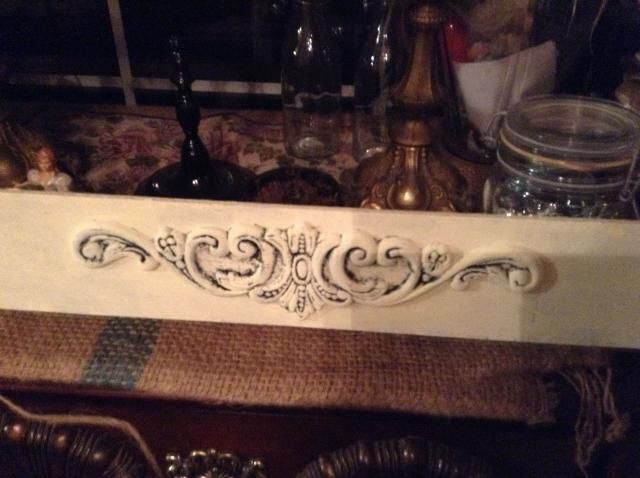
4) now glue your wood decorative thingy in the middle on the front of your screen.. the side that will be showing
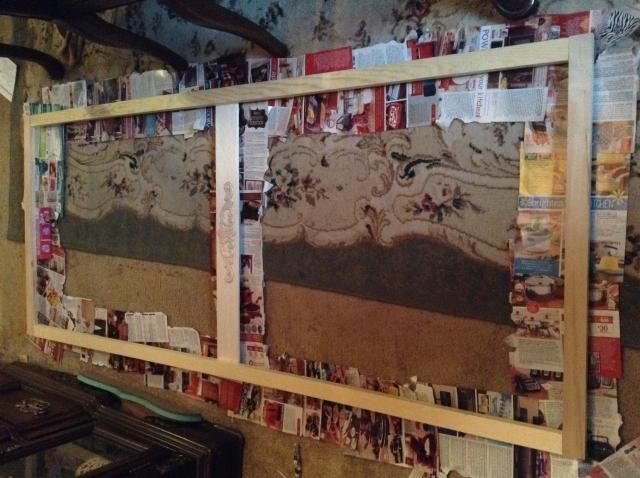
5) now is time to paint this.I placed old magazine pages all around and the edges of my screen so I didnt get anything on the floor.. and because I didnt want any of the pages to stick to my screen, I used pill bottle caps to raise it from the floor a little.. Hey it aint purty but it works
6) If you choose you could always spray paint this. It was too cold where I live to do that or I would have spray painted my first layer. I painted mine all black first, then over coated it with antique white, using acryllic paints. I havent decided if im gonna distress some it yet or not.. but that was the reason for the 2 colors.. you could choose just one if you wanted.
when I got to the white layer on my "middle" I decided not to coat the entire thing , I just dry brushed the paint on leaving some of the black showing through.
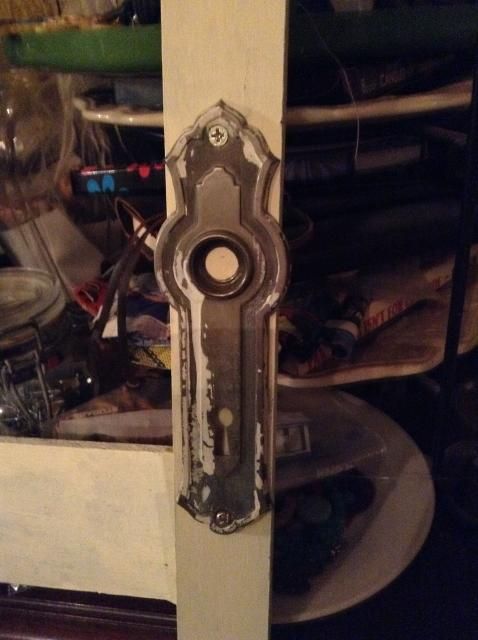
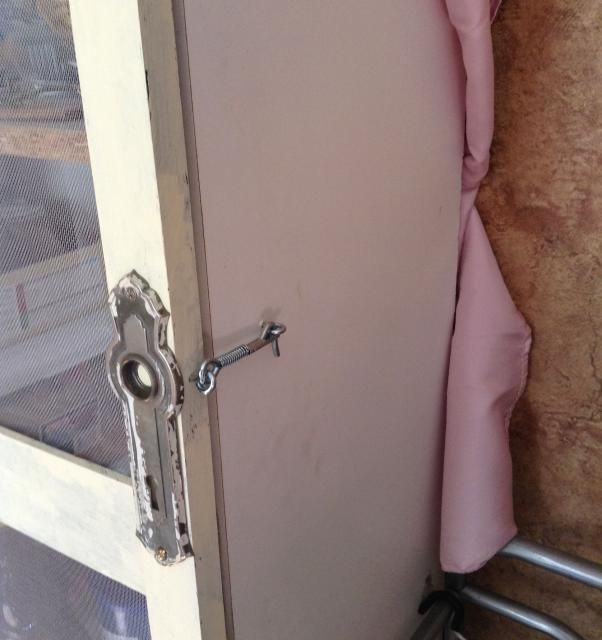
7) I found this really cool old handle plate minus the knob at a local flea market and fell in love. this worked perfectly for this project, as it's not a real screen door. And yep the paint was already on it. I just screwed a couple screws in and voila...
 acrylic paint dries really fast so theres not a whole lot of waiting around time.
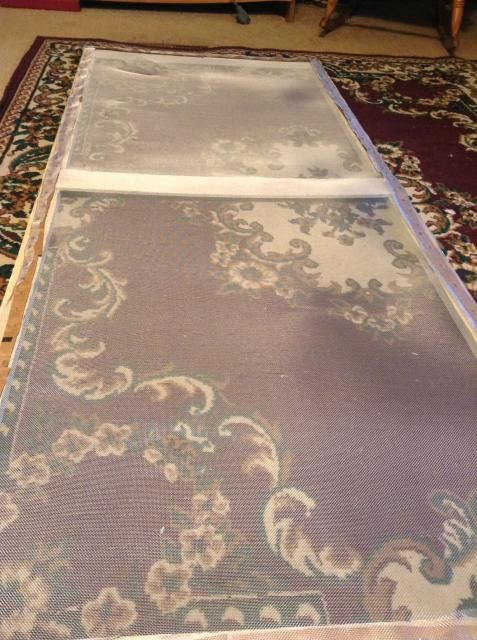
8) Now it's time to attach your screen. I bought a roll of the screen material from my walmart... hey I get a discount lol.
I put it over my frame and measured it out, making sure to leave about an inch more so you can staple it. and cut it out... NOTE: Be very careful I kept getting stabbed my the tiny little screen pieces a I cut... and YES they hurt.. and bleed!
9) cut out strips about 1/2 inch strips of cardboard to help keep your screen in place and to hold
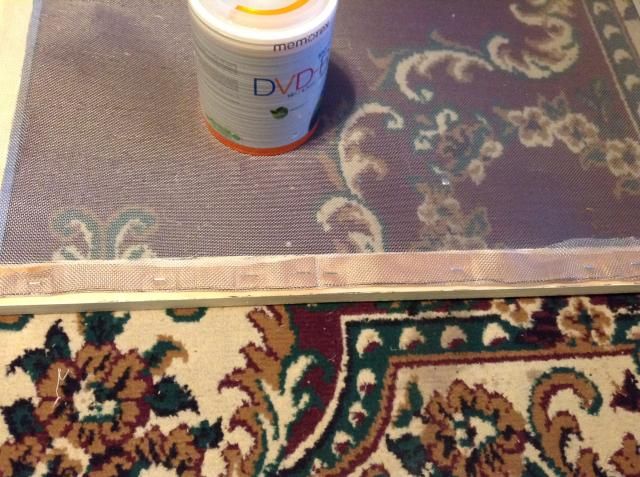
10) Now your gonna staple the screen on. Using your strips, place them on the middle of your wood, and fold the hangover of screen over it. Make sure that none is gonna show if it does tuck it under...
and staple... all the way around. pay attention to your corners you dont want any hanging out in sight.
11) your screen is done.. now its time to hang it.. I got hubby to help me as I had to bend around a shelf to get to the right place.. and it was just easier having him help :)
Put your screen up against the front of your shelf, and make sure it matches. make sure that it can open correctly and not scrape the floor. when you have it in position Screw in those hinges I told ya you needed. We screwed them into the cabinet first and then into the screen. We also placed them about 1/2 way down the top half and halfway down the bottom half. I didn't get a picture of this part sorry. Now  test it and make sure it opens and closes right.
12) To make sure my door stayed closed I bought a hook and eye latch and just attached it to the side of the door by the handle and to my shelf... make sure you place them in the right spot first.. and a tip.. drill a hole first.. anyone thats ever screwed in eye hooks know how hard it is on your hands
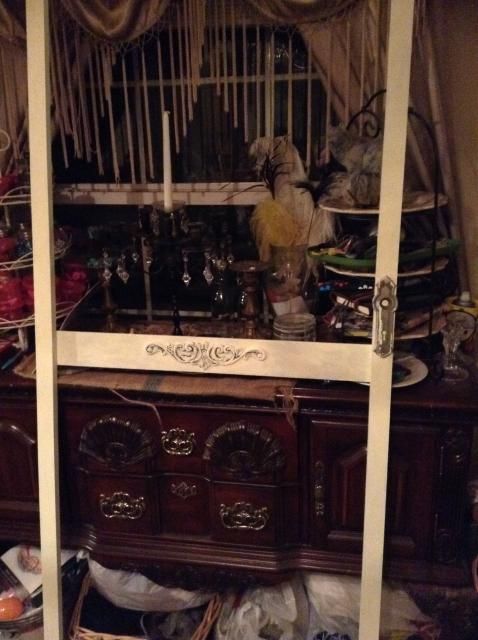
 and now your done.. stand back and admire all your hard work
I still haven't decided if Im gonna distress the wood yet, and I wish I could have found some corner pieces all the ones I found where huge . I am also toying with the idea of putting a molding around the top. The nice thing is I can do whatever I want to it.. cuz it's mine lol

Happy crafting Ya'All!
Until next time...